Build immersive animations with preset camera paths
Craft cinematic narratives with these easy-to-use video animation tools
From static to cinematic
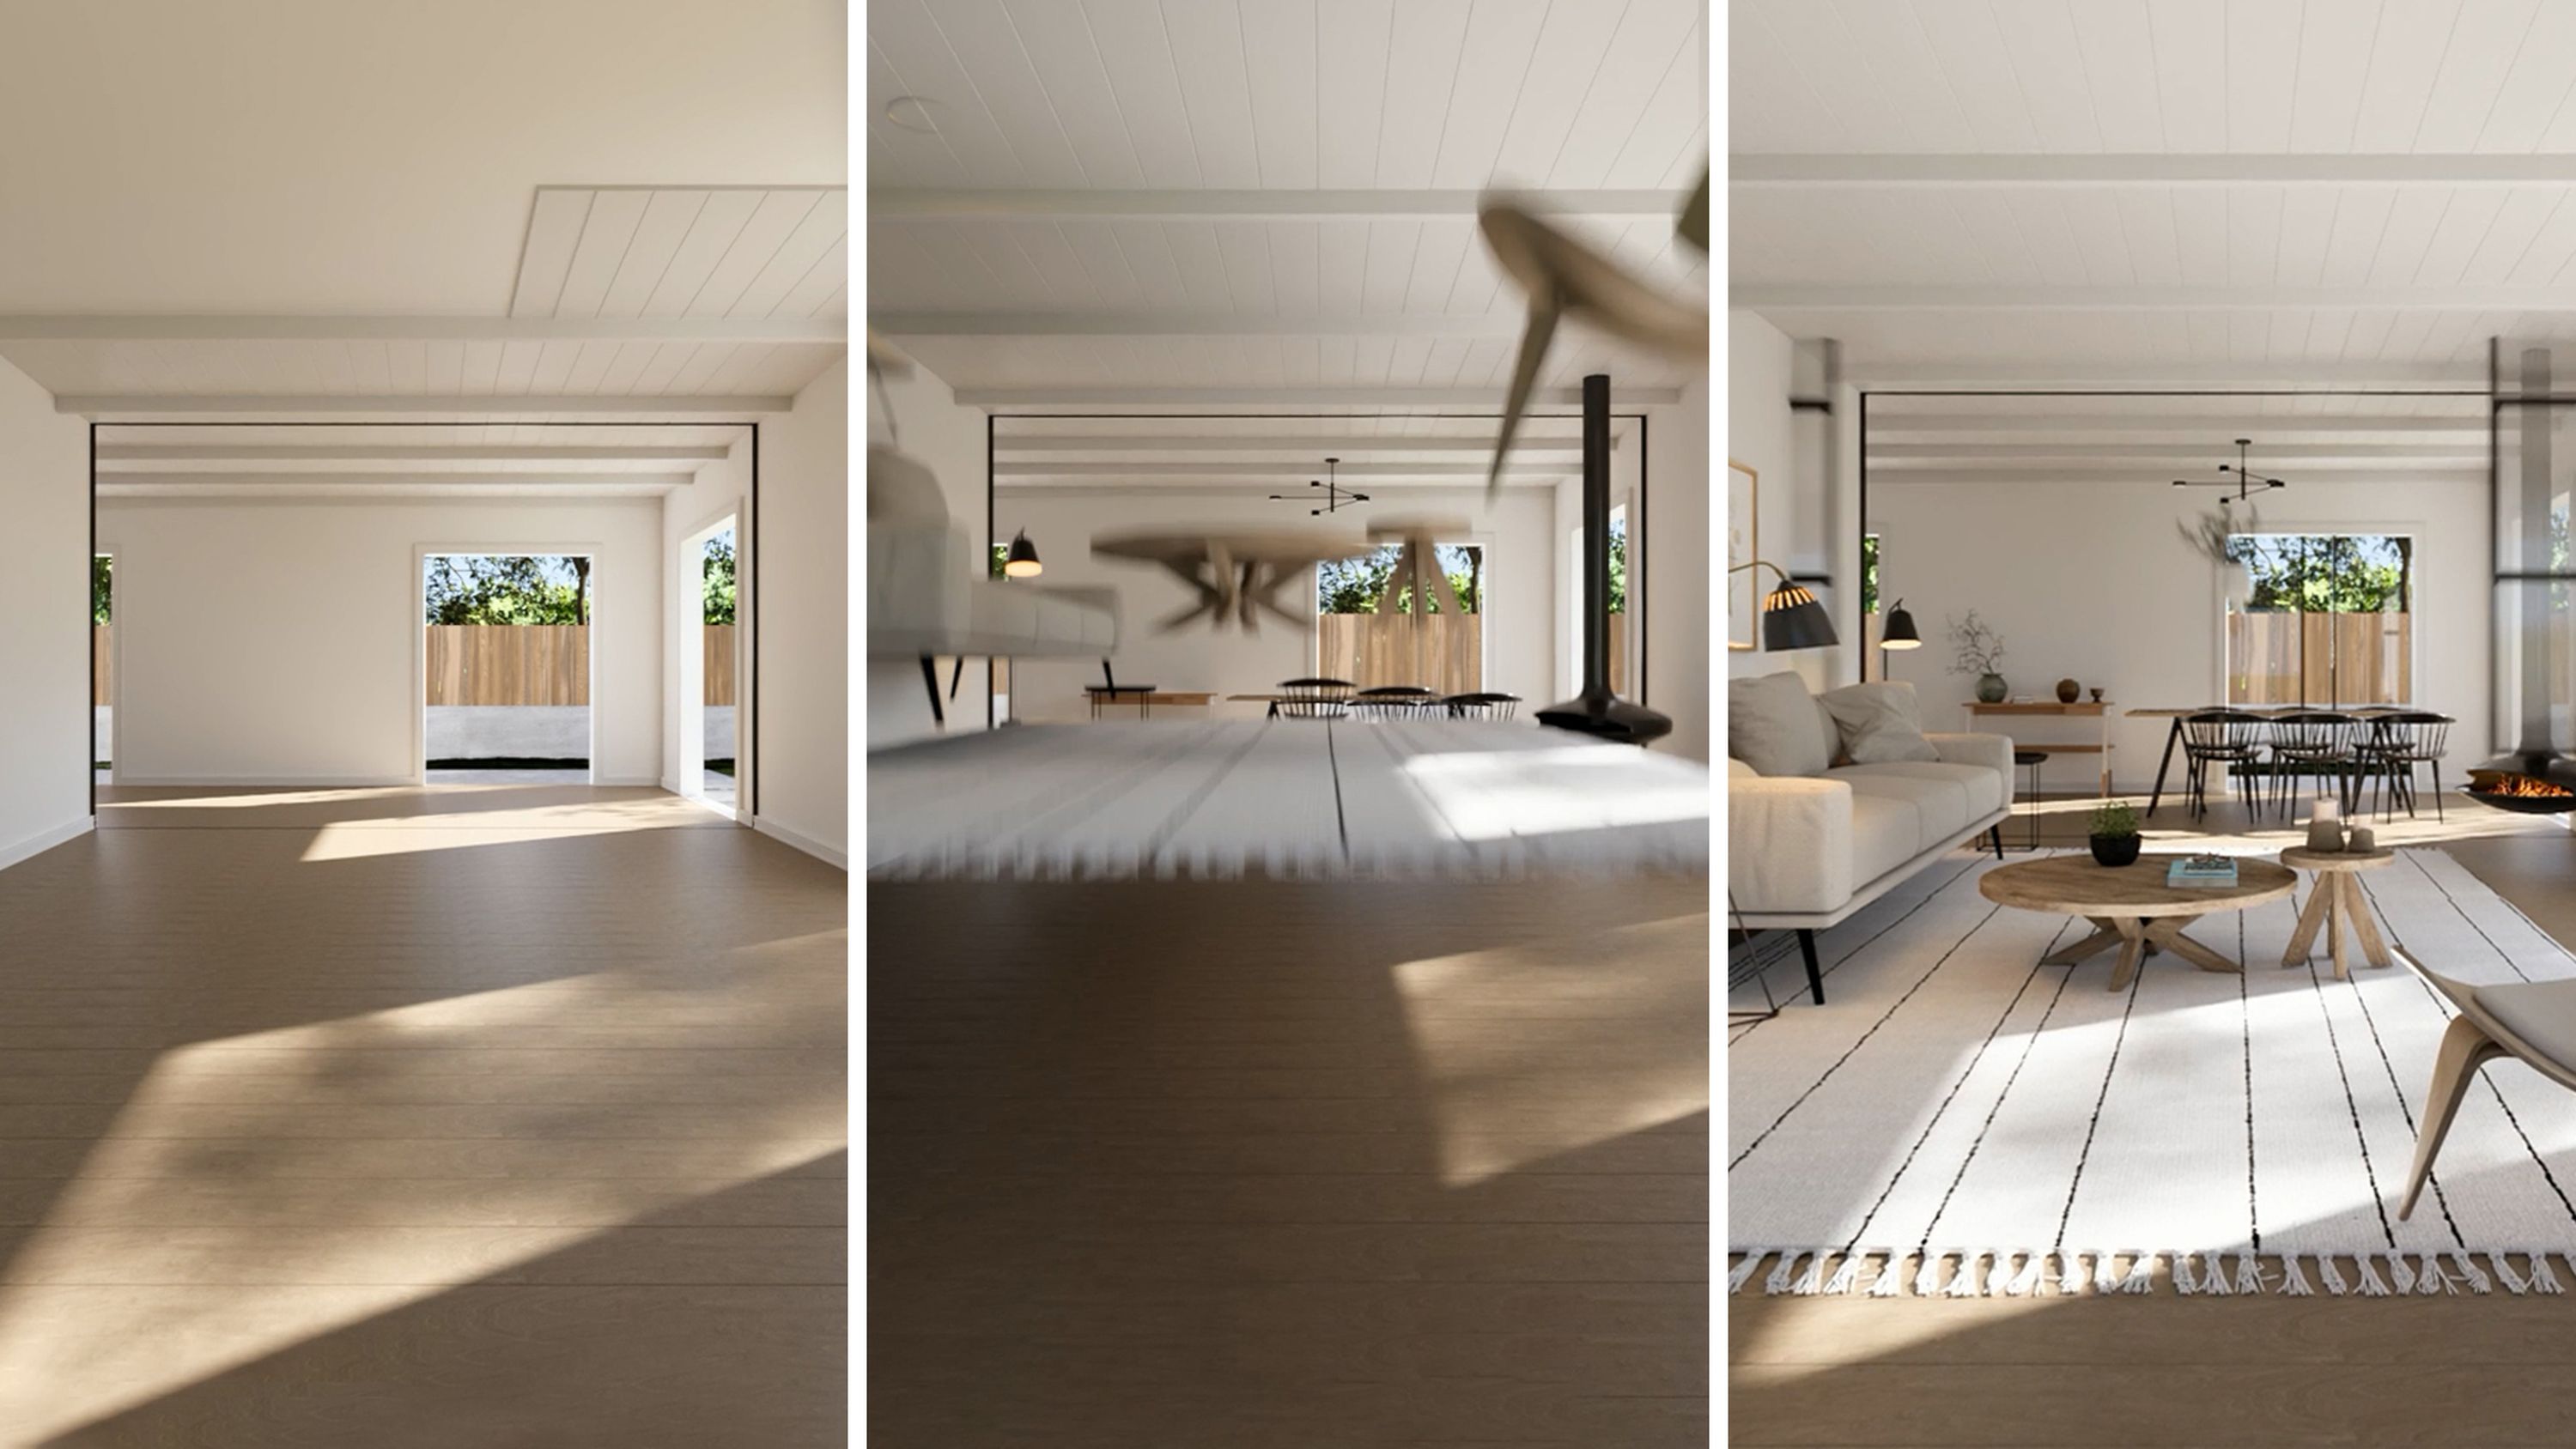
Anyone can create cinematic animations in Lumion through clever utilization of its camera path tools. This quick guide will show you one of the simplest and most effective methods for enhancing storytelling in your animations.
Learning how to employ our predefined camera paths will enable you to showcase key aspects of your project in a highly engaging manner. Get ready to provide your clients with a virtual tour like no other!
Lights, camera, render!
Watch this short video of the different presets available and continue below to find quick explanations of what they do and how you can use them.
Discover the power of camera paths
Why not try them for yourself? With a free Lumion Pro trial, you can explore preset camera paths and all the latest features and content for 14 full days.
Get yours now to start exploring.
Direct the action
You might think that creating and rendering sweeping camera movements, fly-through animations, or lengthy tracking shots of architectural designs would be complicated. But not with Lumion! With its intuitive collection of predefined camera paths, Lumion enables you to produce impressive video clips and animations in just a few clicks.
Simply go to Movie mode, select an empty clip, then click on the Add camera preset path button. You can select from 4 different camera movement types to efforlessly create smooth, professional animations in no time:
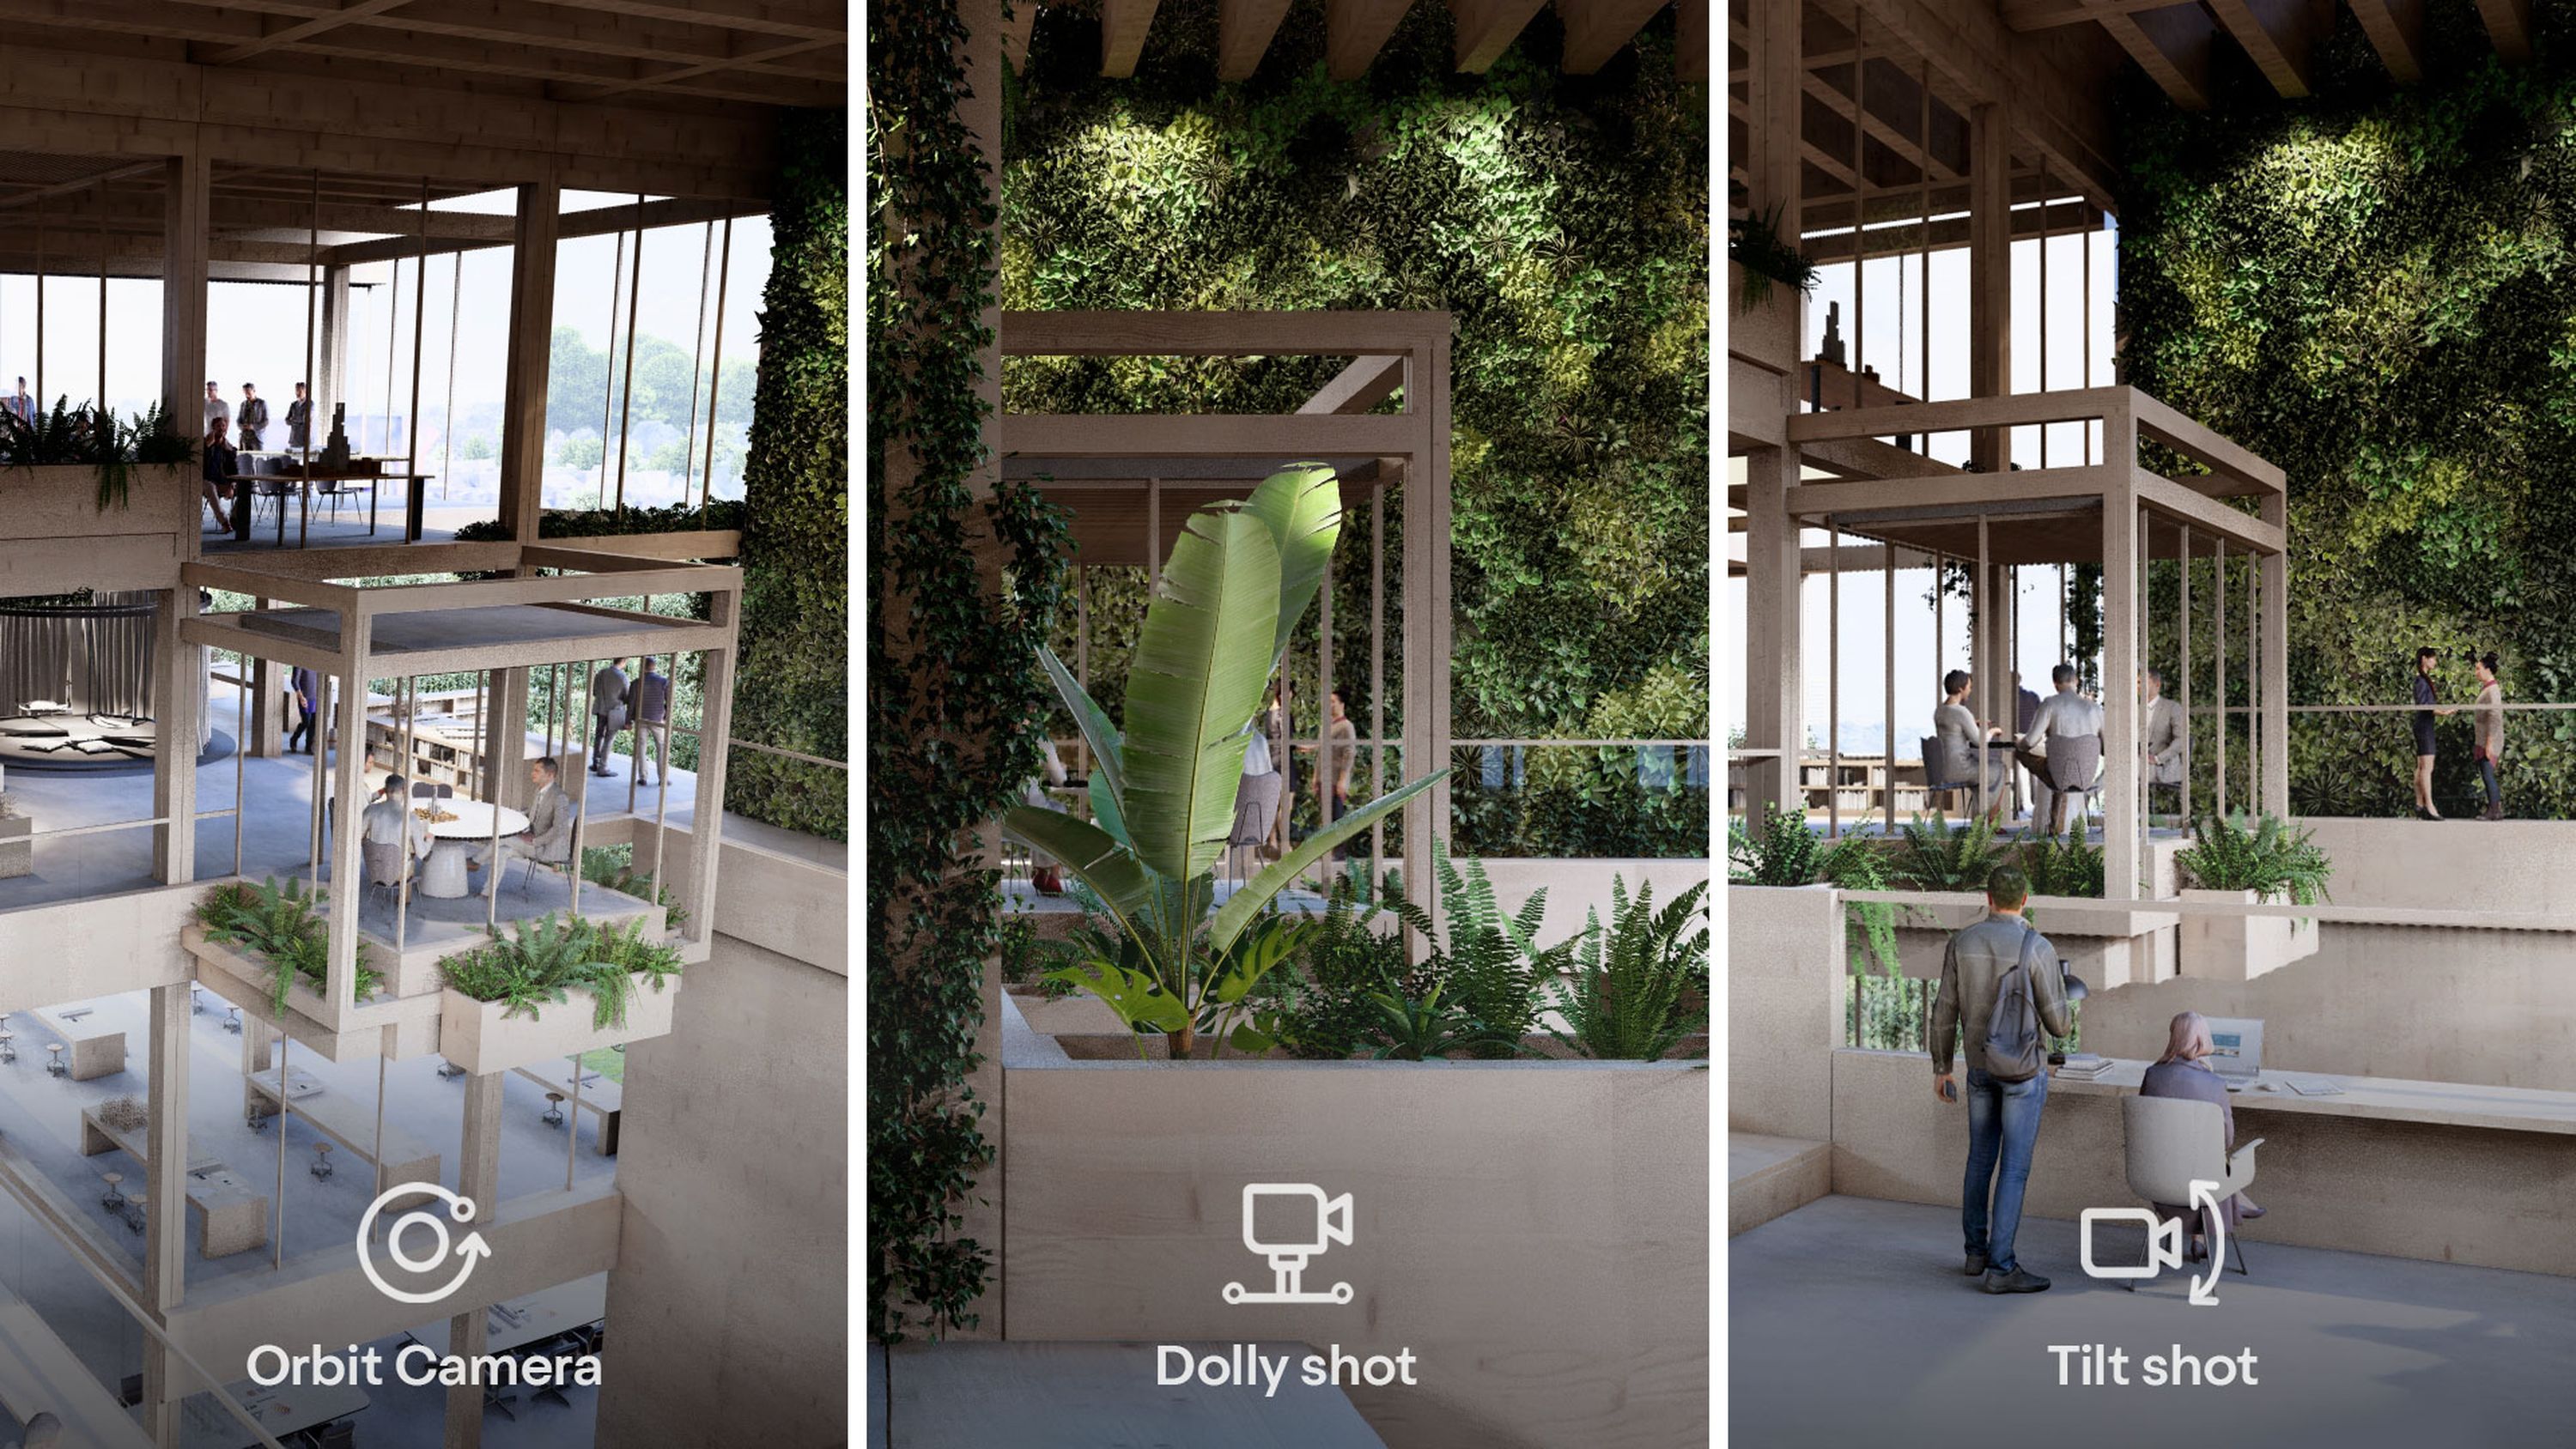
1. Orbit path
The first type of path is designed to achieve the perfect camera orbit. This dynamic motion involves circling around a subject or point of interest, creating an engaging and immersive experience for the viewer.
To customize the path to your specifications, you can easily adjust the camera and subject height, along with the radius width, using the gizmo. You can also use the settings on the left to set different start and end points, choose the direction of the spin (clockwise or counterclockwise), and specify the number of revolutions.
2. Dolly shot
A dolly shot involves the camera moving smoothly along a track in a straight line. This movement allows for dynamic and controlled camera motion, enhancing the storytelling element of a scene, conveying emotion, and adding cinematic flair to an animation.
To achieve the exact path you want, you can choose the start point, end point, and direction. To do this, you can either enter the coordinates manually or click on the button displayed to set the current camera position as a start or end point.
You can also adjust the heading and pitch of the camera, as well as reverse the path direction by clicking on the Reverse direction toggle.
3. Pan/tilt shot
Pan and tilt shots offer a great way of adding visual impact to an animation. While a pan shot involves the horizontal rotation of the camera on its central axis, a tilt shot involves the camera moving vertically in either direction.
Panning is an effective way of following action, whereas tilting is useful for exploring height or depth.
You can create either in Lumion by configuring the start and end angles to your liking. While the camera stays static, you can simply change the path’s orientation according to your preference.
4. Follow object
With a follow object path, the camera physically follows the movement of a specific object within a scene. This helps maintain focus on the object in question, immersing the audience in the movement and helping them stay connected to the scene’s narrative.
This path also helps draw attention to a particular object, emphasizing its significance within a scene.
To achieve this in Lumion, select the object you want the camera to follow and set your preferred position and orientation. Alternatively, you can let the camera look at it automatically. This works with objects animated with the move, advanced move, mass move, and phasing effects.
To preview your camera path, simply switch from Free cam to On path.
Note: if you have the handheld camera effect active with the Look at fixed point setting turned on, this will override camera targets in the camera path presets.
Take your own path
These four camera path options can save you time and, if used carefully, help ensure that you maintain a consistent visual style throughout your projects. Additionally, they can be fine-tuned to your liking, allowing you to create advanced cinematic movies for all designs.
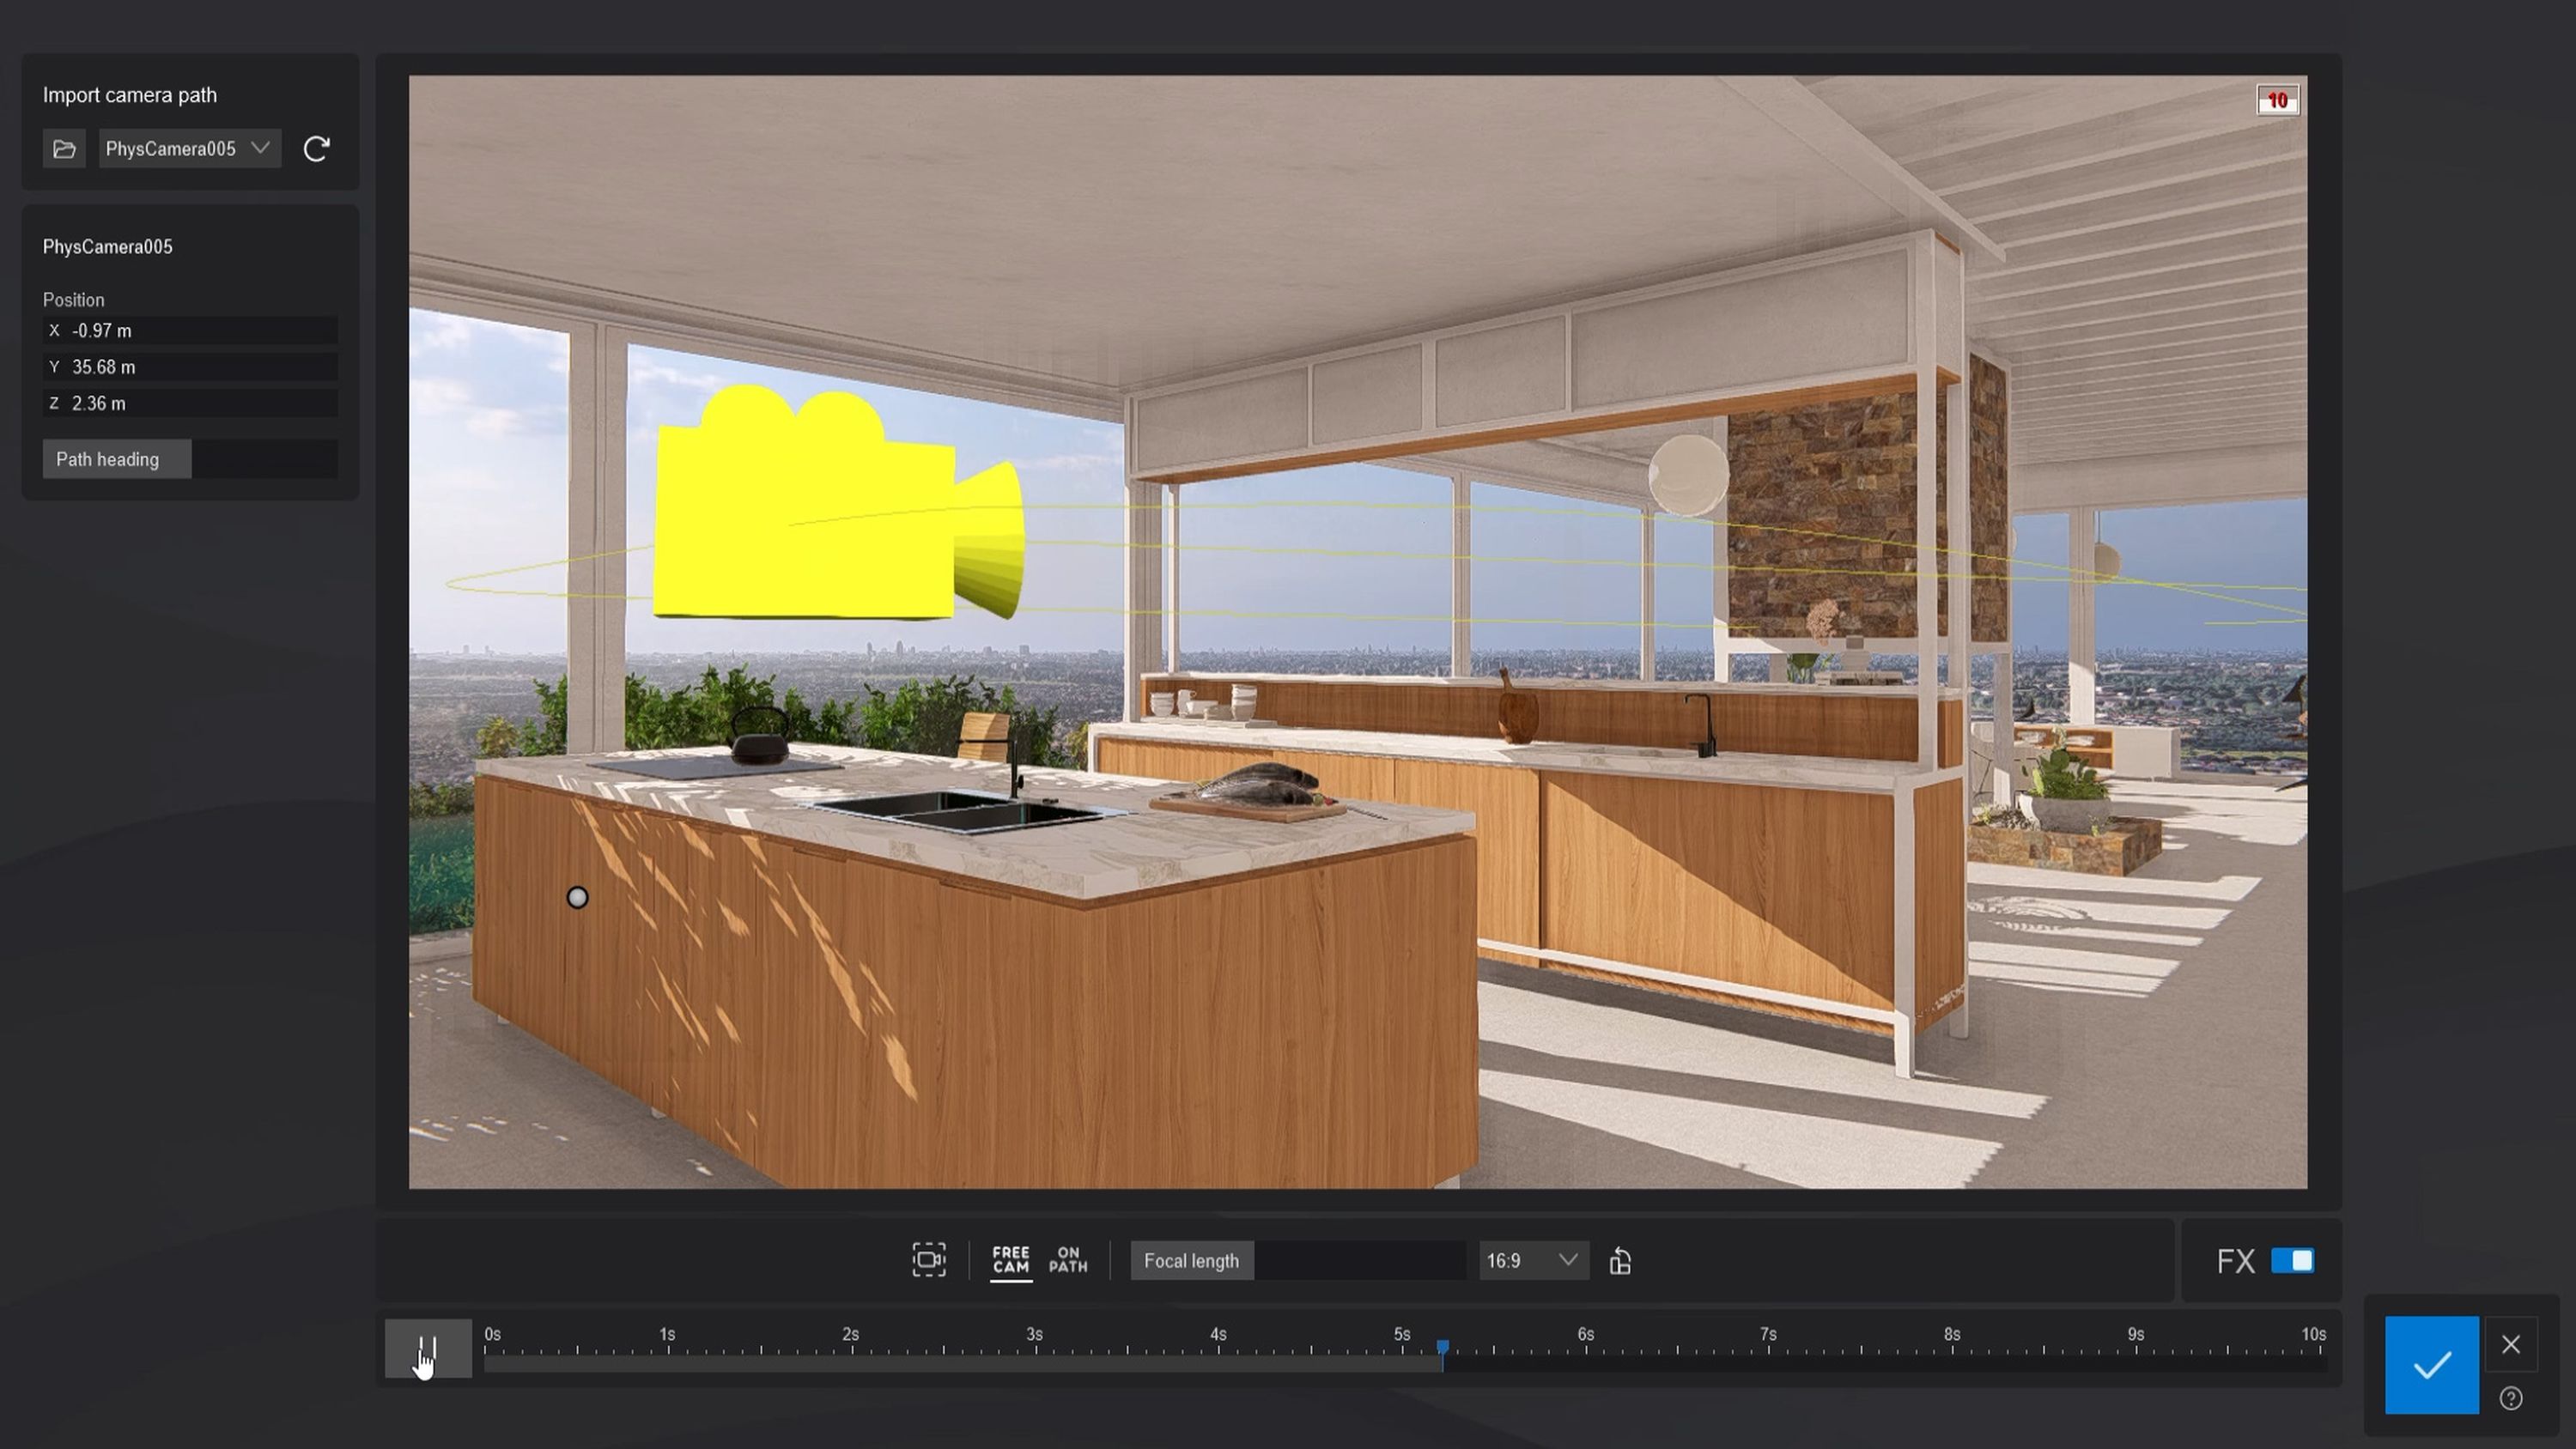
If you’d rather stray from the predefined route, you can do that too. Lumion also has the option to import a custom camera path to help you tailor your design’s exact visual narrative.
We’ve put together 10 simple steps to importing a custom camera path into Lumion. You can create compelling tracking shots and animations using this handy feature, so follow along with our guide and try that feature for yourself too.
Invite the community to view
We love seeing the different animations our users create using Lumion’s video render tools.
When you've a new project to show, be sure you share your clips and animations in the community forum, or help us find your work on social media by using the hashtag #madewithlumion.
Want to experiment with Lumion?
If you're new to Lumion and curious to give it a try, you can get complete access to Lumion Pro—free for 14 days. Get to know the camera paths and every other feature in Lumion by signing-up for our free trial. No credit card required to get started.
Let's stay connected
Enjoyed diving into this guide? Sign up to our newsletter and be the first to receive useful tips, rendering tutorials, and more.