How to import a custom camera path into Lumion
Create compelling tracking shots and animations with these 10 simple steps
An immersive visual journey
This article provides a step-by-step guide for importing a custom camera path into Lumion. A custom camera path serves as a powerful tool to invite viewers into your digital environment in the exact way you choose. It allows a visualization to perfectly align with your intended narrative and effectively communicate the design’s essence.
By highlighting spatial features or design elements, you can guide viewers through a logical sequence, strengthening their emotional connection with the space. Plus, with greater artistic control, you can manipulate the shot speed, angles, and transitions to evoke certain feelings or convey a particular ambiance. Read on to discover how you can easily create an immersive visual experience for your clients using 3ds Max and Lumion.
Note: You can also try this process with Blender.
Come fly through the Stahl House
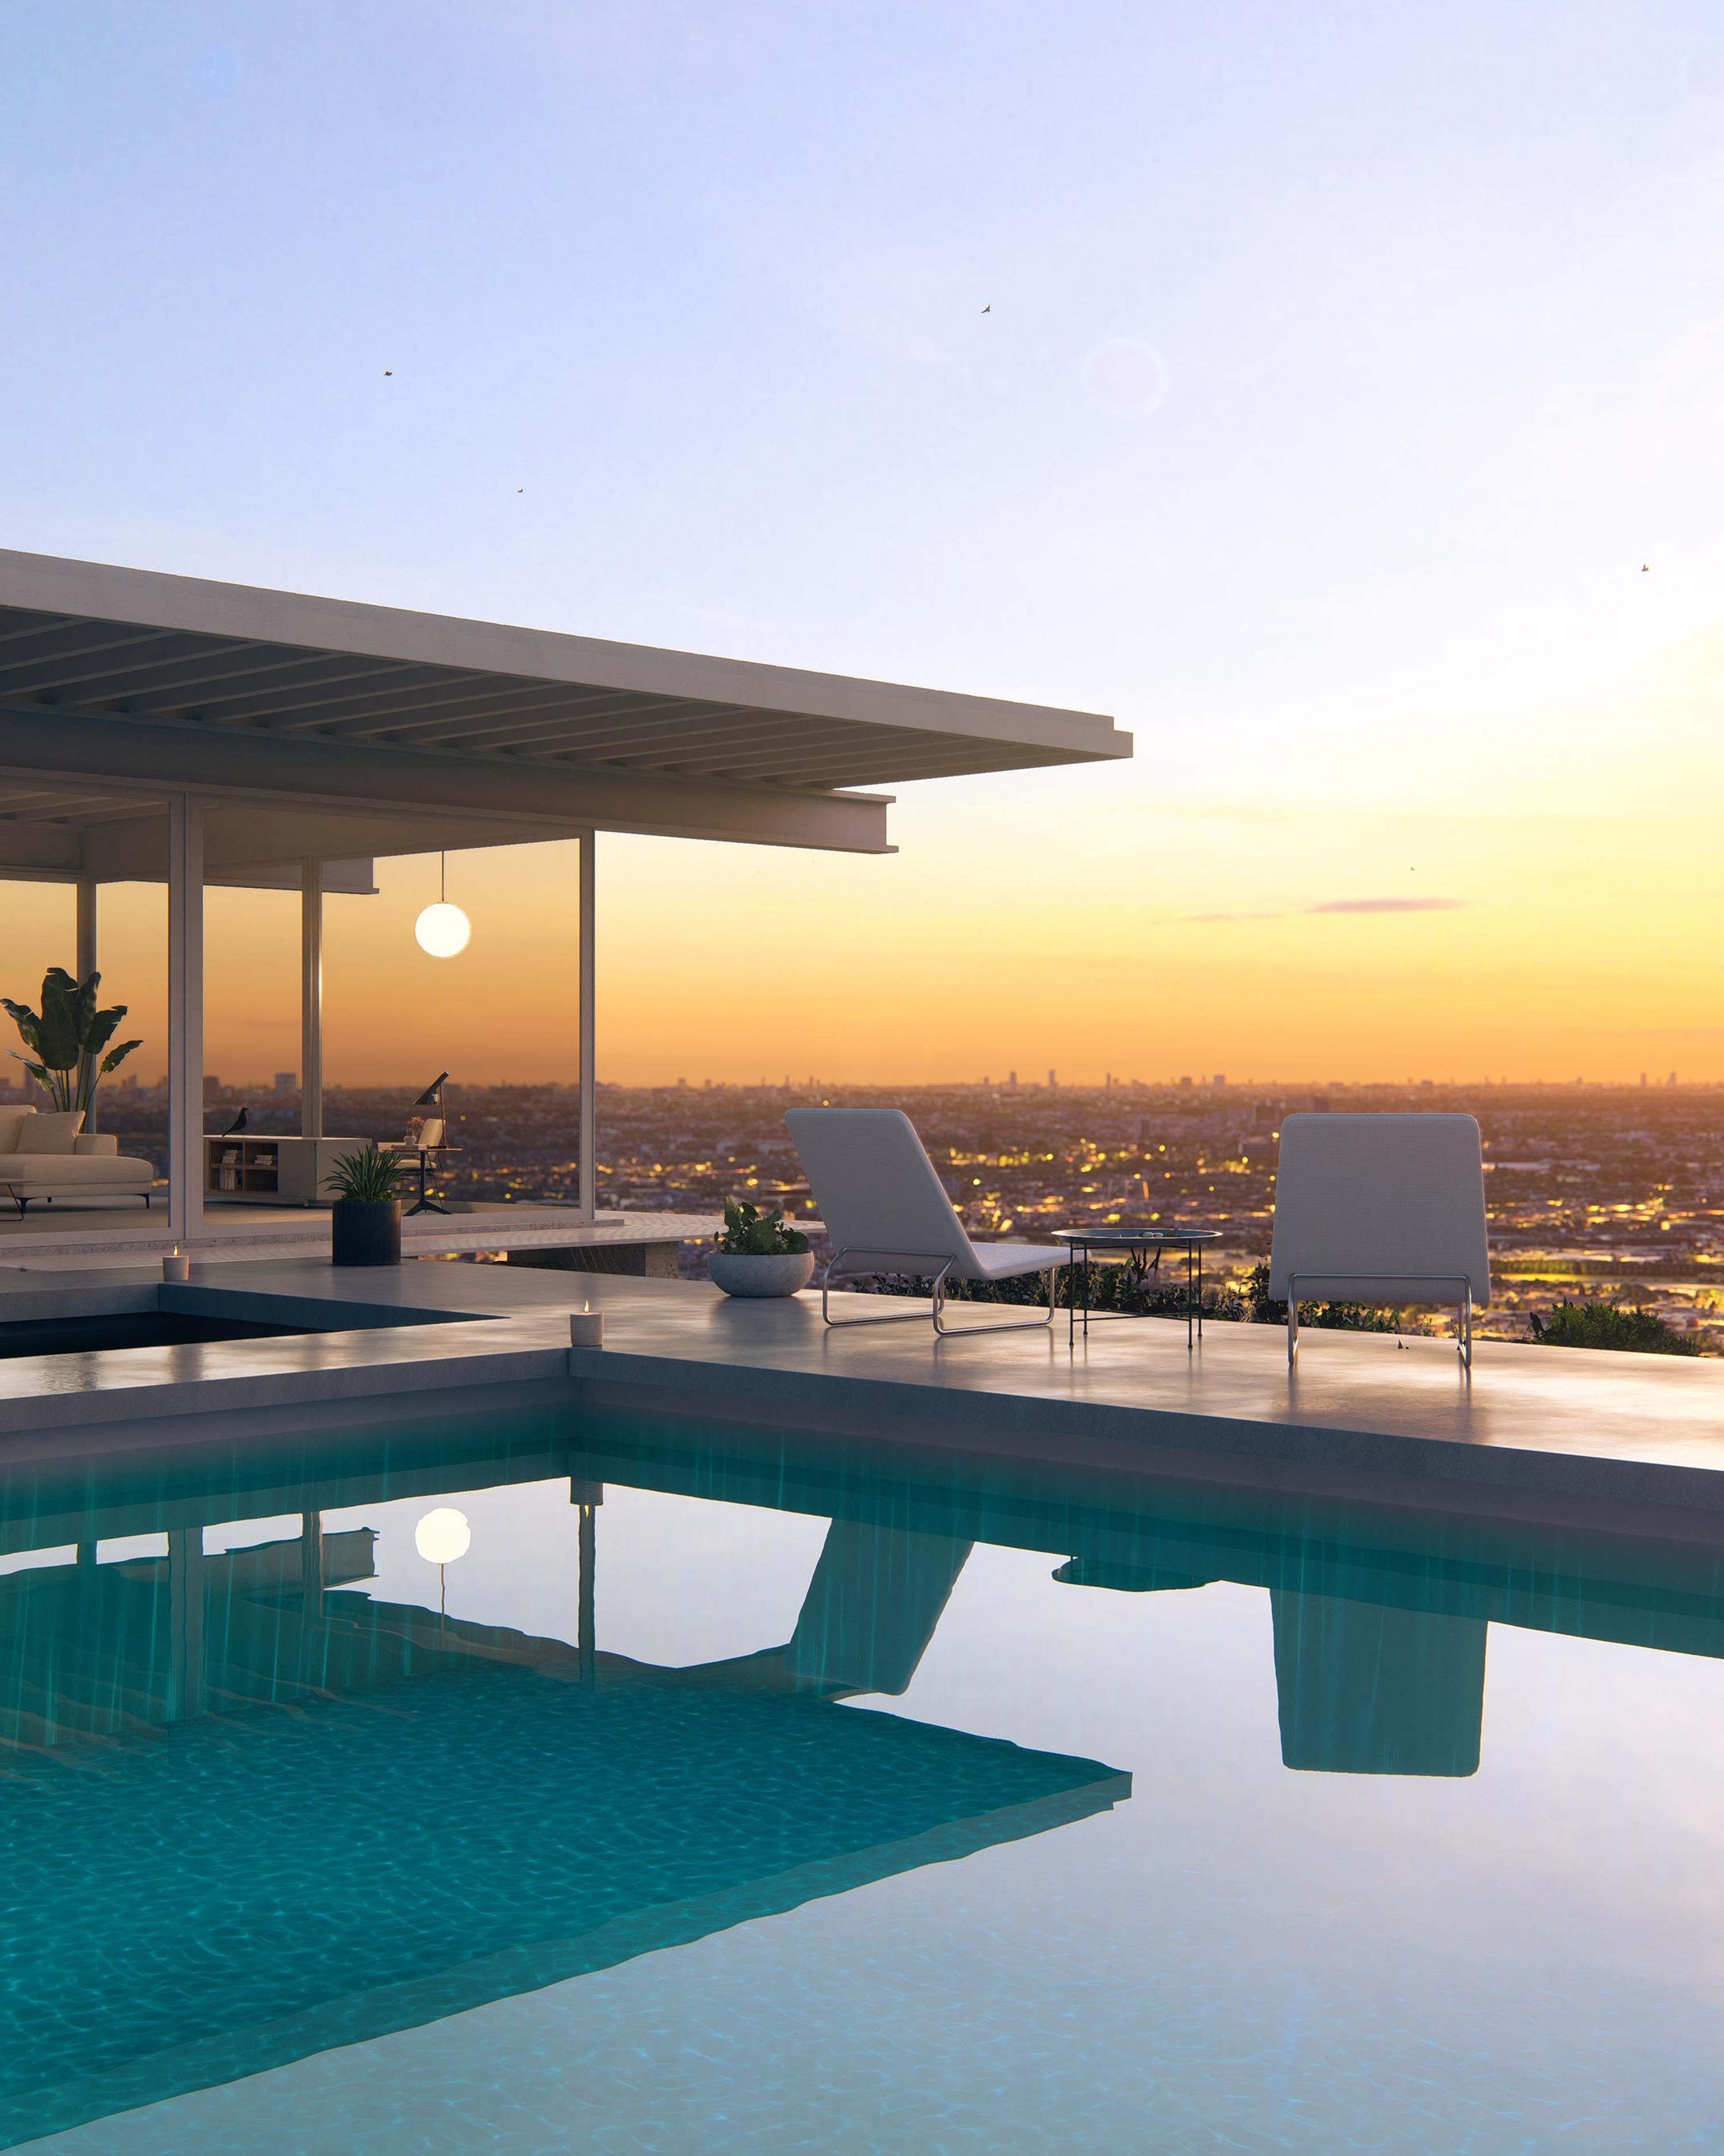
To illustrate how the imported camera paths work, we’ve selected this animation of the iconic Stahl House interior, created by Carlos Rodriguez Guirado. Carlos has made clever use of the custom camera path feature in 3ds Max to create a sequence that travels through the kitchen and main living areas, and ends up looking out on the stunning LA scenery.
Importing your camera path
Here are the 10 simple steps you’ll need to create such an animation.
1. Open 3ds Max
Launch 3ds Max on your computer and open an existing scene, or create a new one where you want to add the animated camera.
2. Switch to the Create tab and create a camera
Go to the Create tab in the main toolbar and select Cameras from the drop-down menu. Choose Free Camera to create a standard camera. Note that only the default 3ds Max cameras are supported.
3. Place the camera in the scene and adjust its parameters
Click in the viewport to place the camera. Adjust the position and orientation as needed, as well as the field of view (FOV), near and far clipping planes, and camera target.
4. Animate the camera
Go to the Animation tab and set your timeline to the desired length (number of frames). Move the time slider to the starting frame and adjust the camera's position, rotation, and other parameters. Right-click on the parameter you want to animate (e.g. position, rotation) and select Set Key. Move the time slider to a different frame, adjust the camera's parameters again, then right-click and select Set Key once more. Repeat this process as needed to create a smooth camera animation.
5. Check the preview
Press the Play button to preview the animated camera's motion. Make any necessary adjustments.
3ds Max camera path preview
6. Export the camera
Select your camera and press Export Selected as a .fbx file, then choose the desired folder where you want to store it and press Enter.
7. Go to Lumion and create
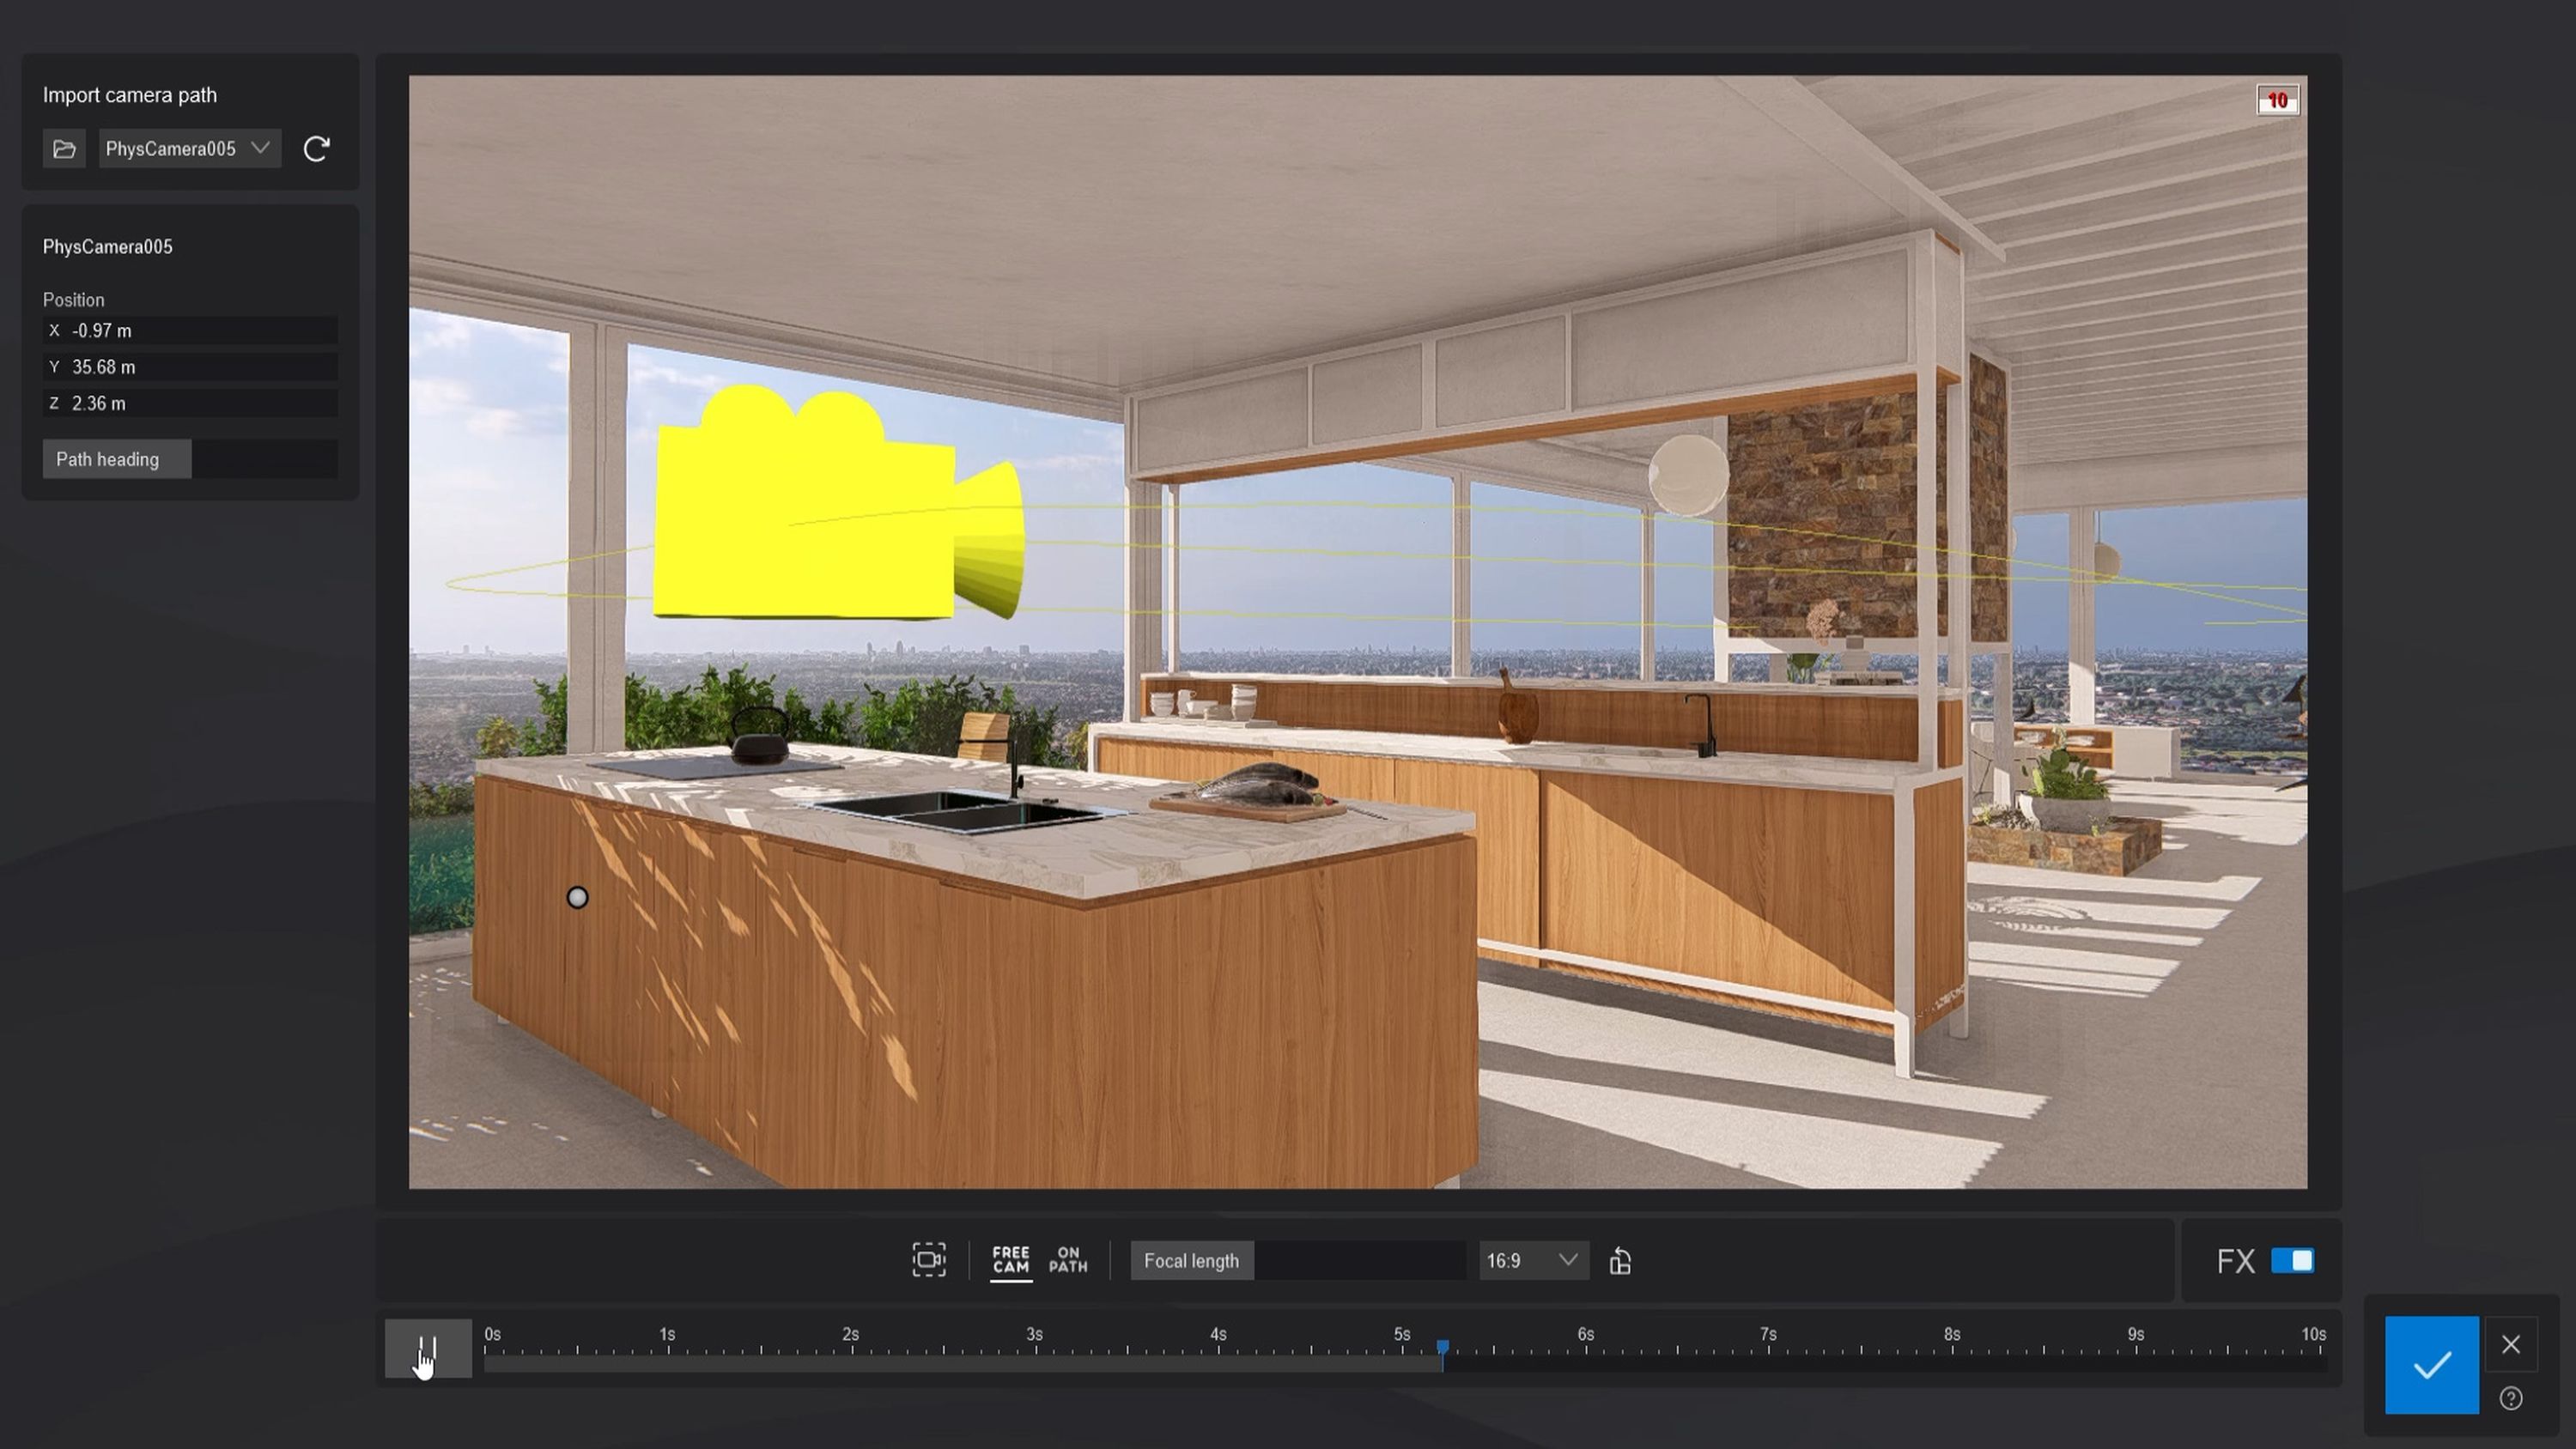
Open Lumion and go to Movie Mode, then click on Import camera path.
8. Select the file and import
The file should be located in the same folder you set during the 3ds Max export process. Click on Browse file and select it.
9. Preview your import
Check what your import camera path looks like in Lumion. You’ll be able to adjust the insertion point of the whole camera path in Lumion if necessary. Press Play to preview the animation.
10. Render it
Once you’re happy with the preview, press the Render button to start rendering the clip. Don’t forget to set your desired quality output, frames per second, and output dimensions. That’s it!
Lumion import camera path preview
Get creative
Custom animations like these offer a fantastic way to facilitate storytelling in architectural visualization. In just a few steps, you can make a design feel more personal and engaging, and emphasize particular user experiences for your audience.
You can add a subtle atmospheric touch to your scene by introducing some of Lumion’s color correction tools. Selecting one of our preset LUT filters will enable you to quickly and easily apply a color-grade-preset to your animation to craft a particular look for your animations. These are very helpful in establishing consistency of tone and style across a series of renders, without the need to build complex FX stacks.
You don’t always need a custom path
If you prefer to use presets, Lumion has its own range that you can experiment with. Play around and capture some rotational views using Orbit Paths, add horizontal Pan and vertical Tilt paths, or create a series of interesting tracking shots using the Dolly, Follow Object, and Handheld Camera paths.
The Follow Object path works with any objects that you animate within your scene using the Move, Advanced Move, Mass Move, and Phasing effects. They’re all easy to get to grips with and fun to use. Lastly, to save you some time, remember that the batch render possibilities in Movie mode, allow you to render a series of animations in one go.
Share your videos and renders
We would love to see what animations you create using imported cameras and Lumion’s own range of video render tools. Be sure to share your creations in our dedicated Community forum, or catch our attention on social media by tagging us with the hashtag #madewithlumion.
Feeling animated?
If this guide has sparked your curiosity and you’re not yet subscribed, why not take out a free 14-day trial of Lumion Pro and try to create some animations for yourself? Sign up and start building your own animated sequences today.