Enhance the realism of your HD displacement maps in Lumion 10
Discover a quick tip that will make your materials look more realistic with the help of displacement mapping
The easiest way to dramatically improve the realism of your project’s materials
No matter the material, doing a little extra modeling in your modeling software can significantly enhance the lifelike, immersive look and feel that displacement mapping adds.
In this article, we’ll go through a simple yet effective method to instantly improve the realism of your render.
As one of the main features in Lumion 10, displacement mapping is a quick and intuitive tool that can significantly enhance the look and feel of the materials in your 3D rendering projects.
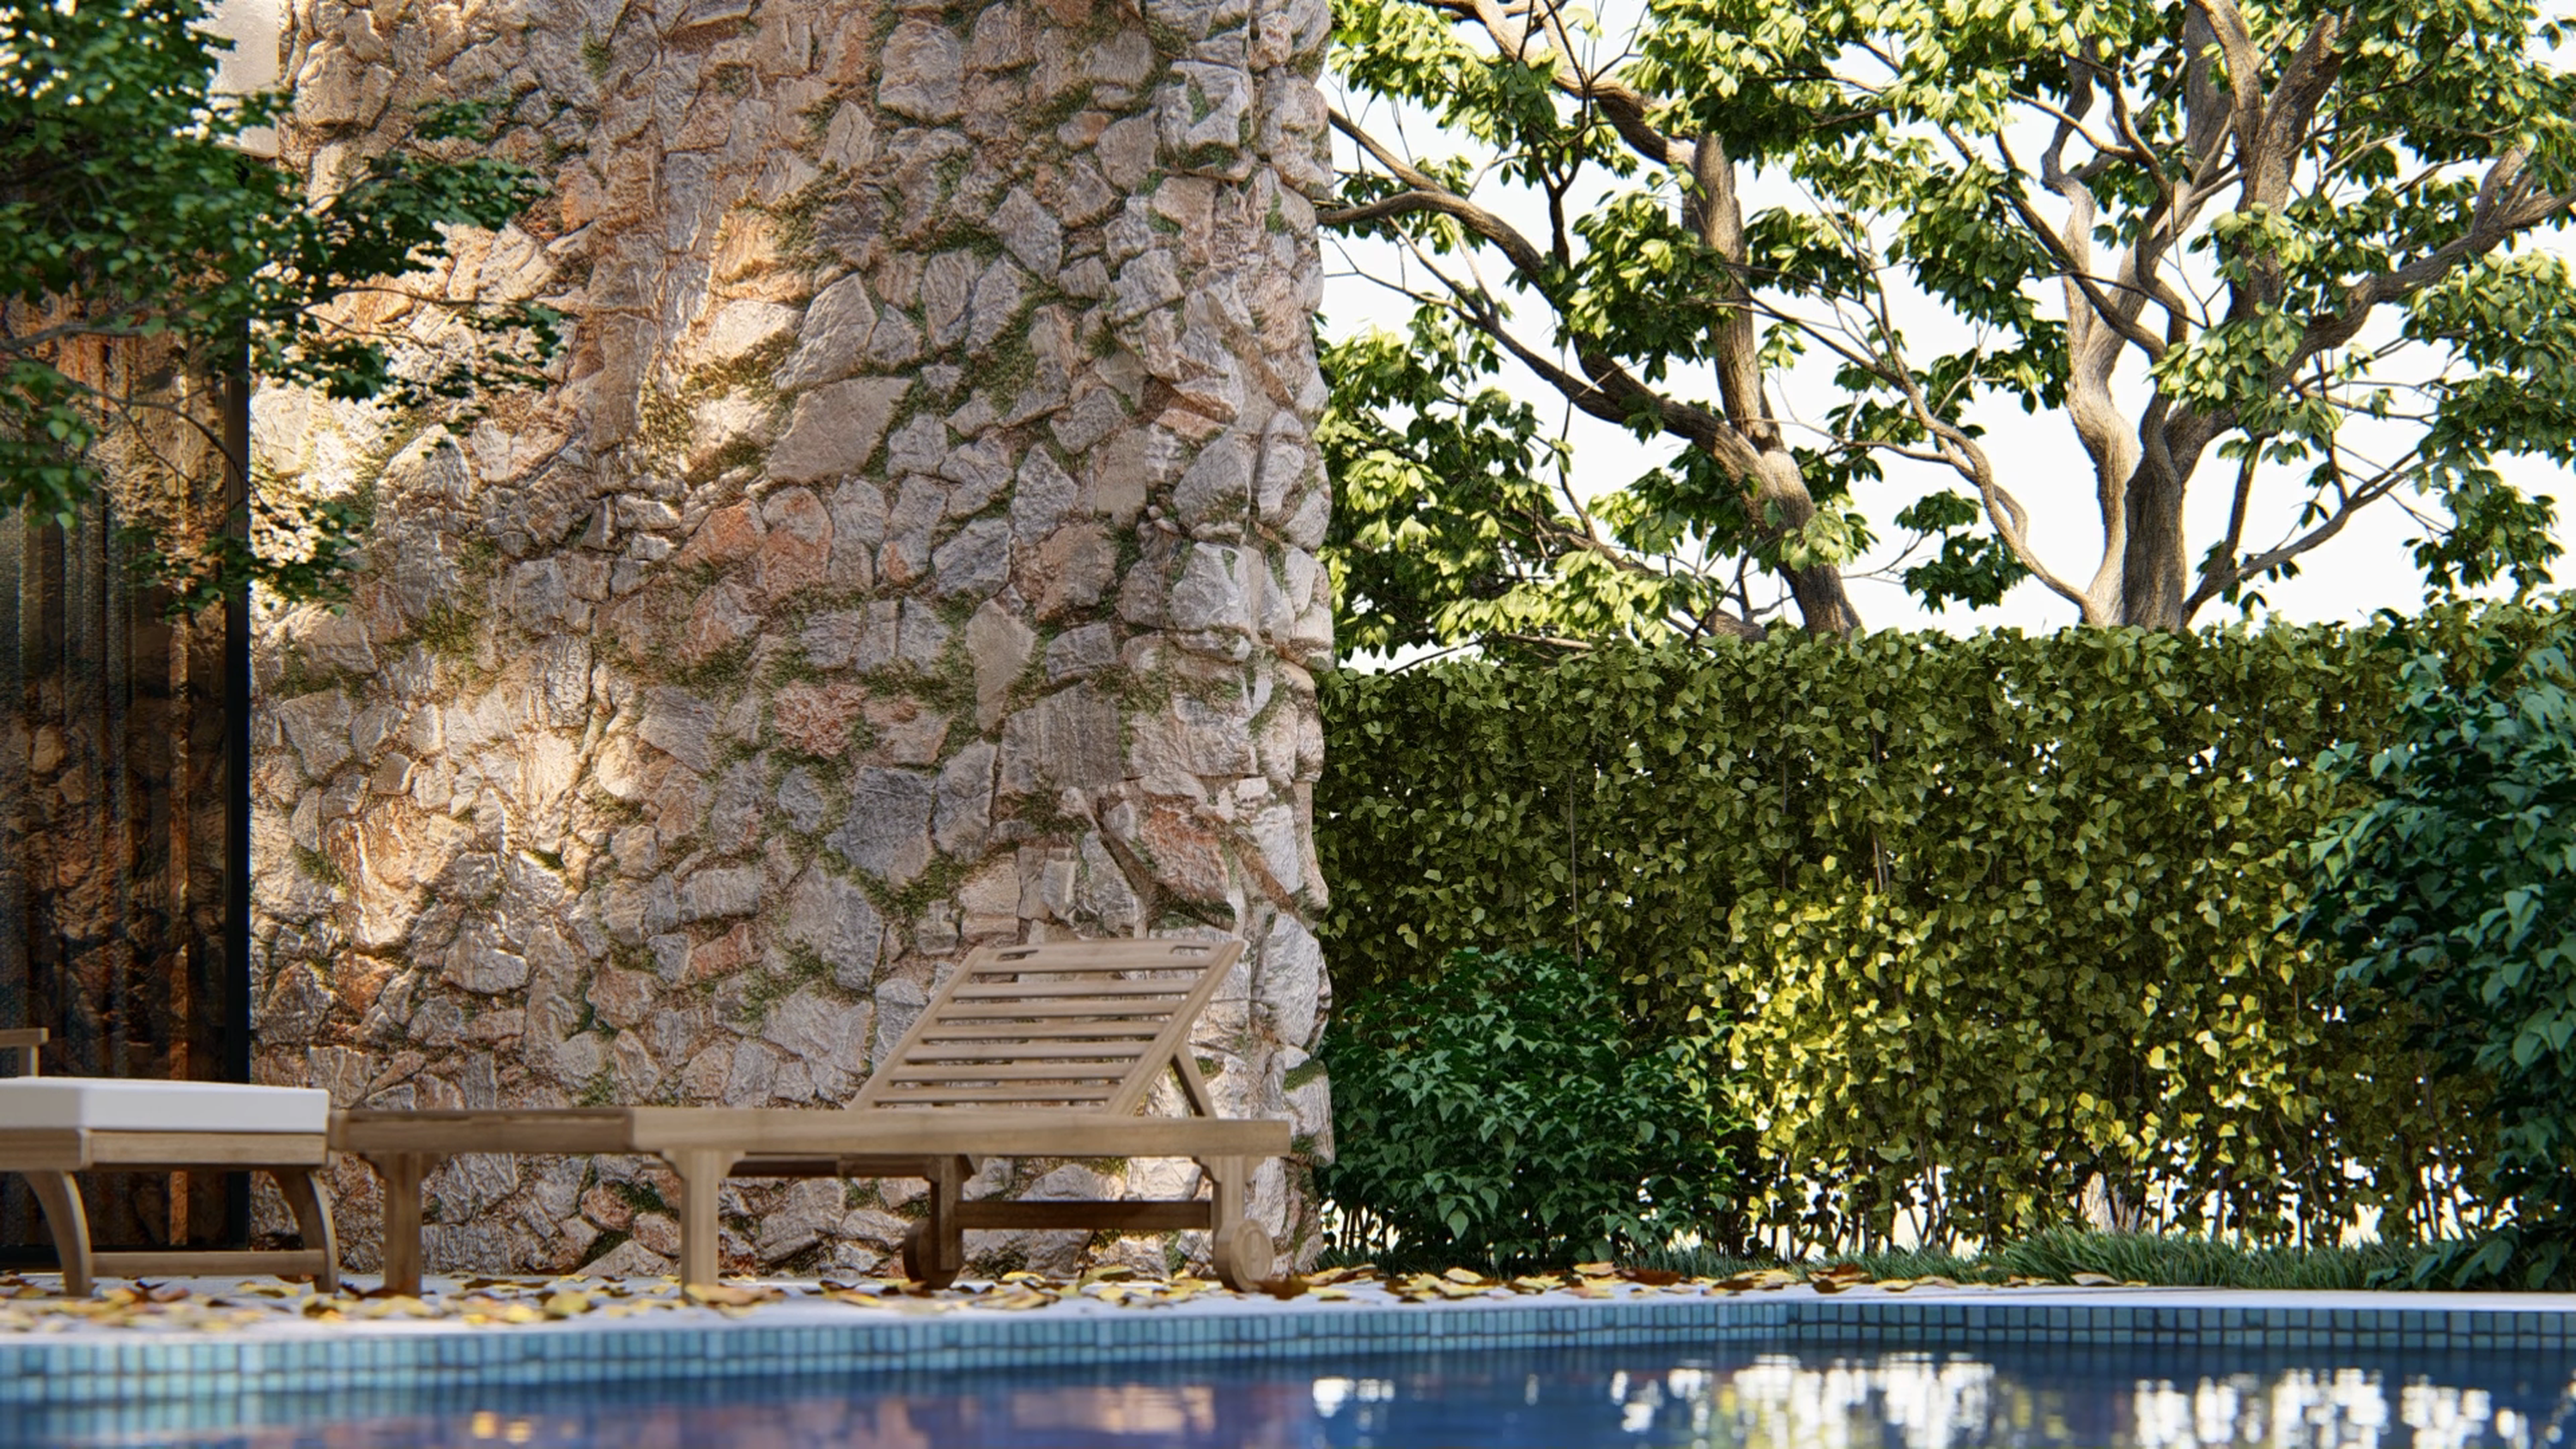
Rock materials, for instance, take on a volumetric look with sharp, angular points and rounded curves sticking out from the surface.
Sand becomes wavy and three-dimensional, sparking memories of walking barefoot along the beach.
Brick materials suddenly gain a rugged, coarse texture with concave mortar joints deep enough to run your finger along.
While displacement mapping can truly breathe life into your project’s surfaces and other materials, it doesn’t give the materials actual 3D depth.
Instead, the displacement mapping slider only simulates displacement, and by zooming in on the corner of the rock wall (shown below), you can see that the large rocks don’t extend outward from the corners. The corners are sharp and angular.
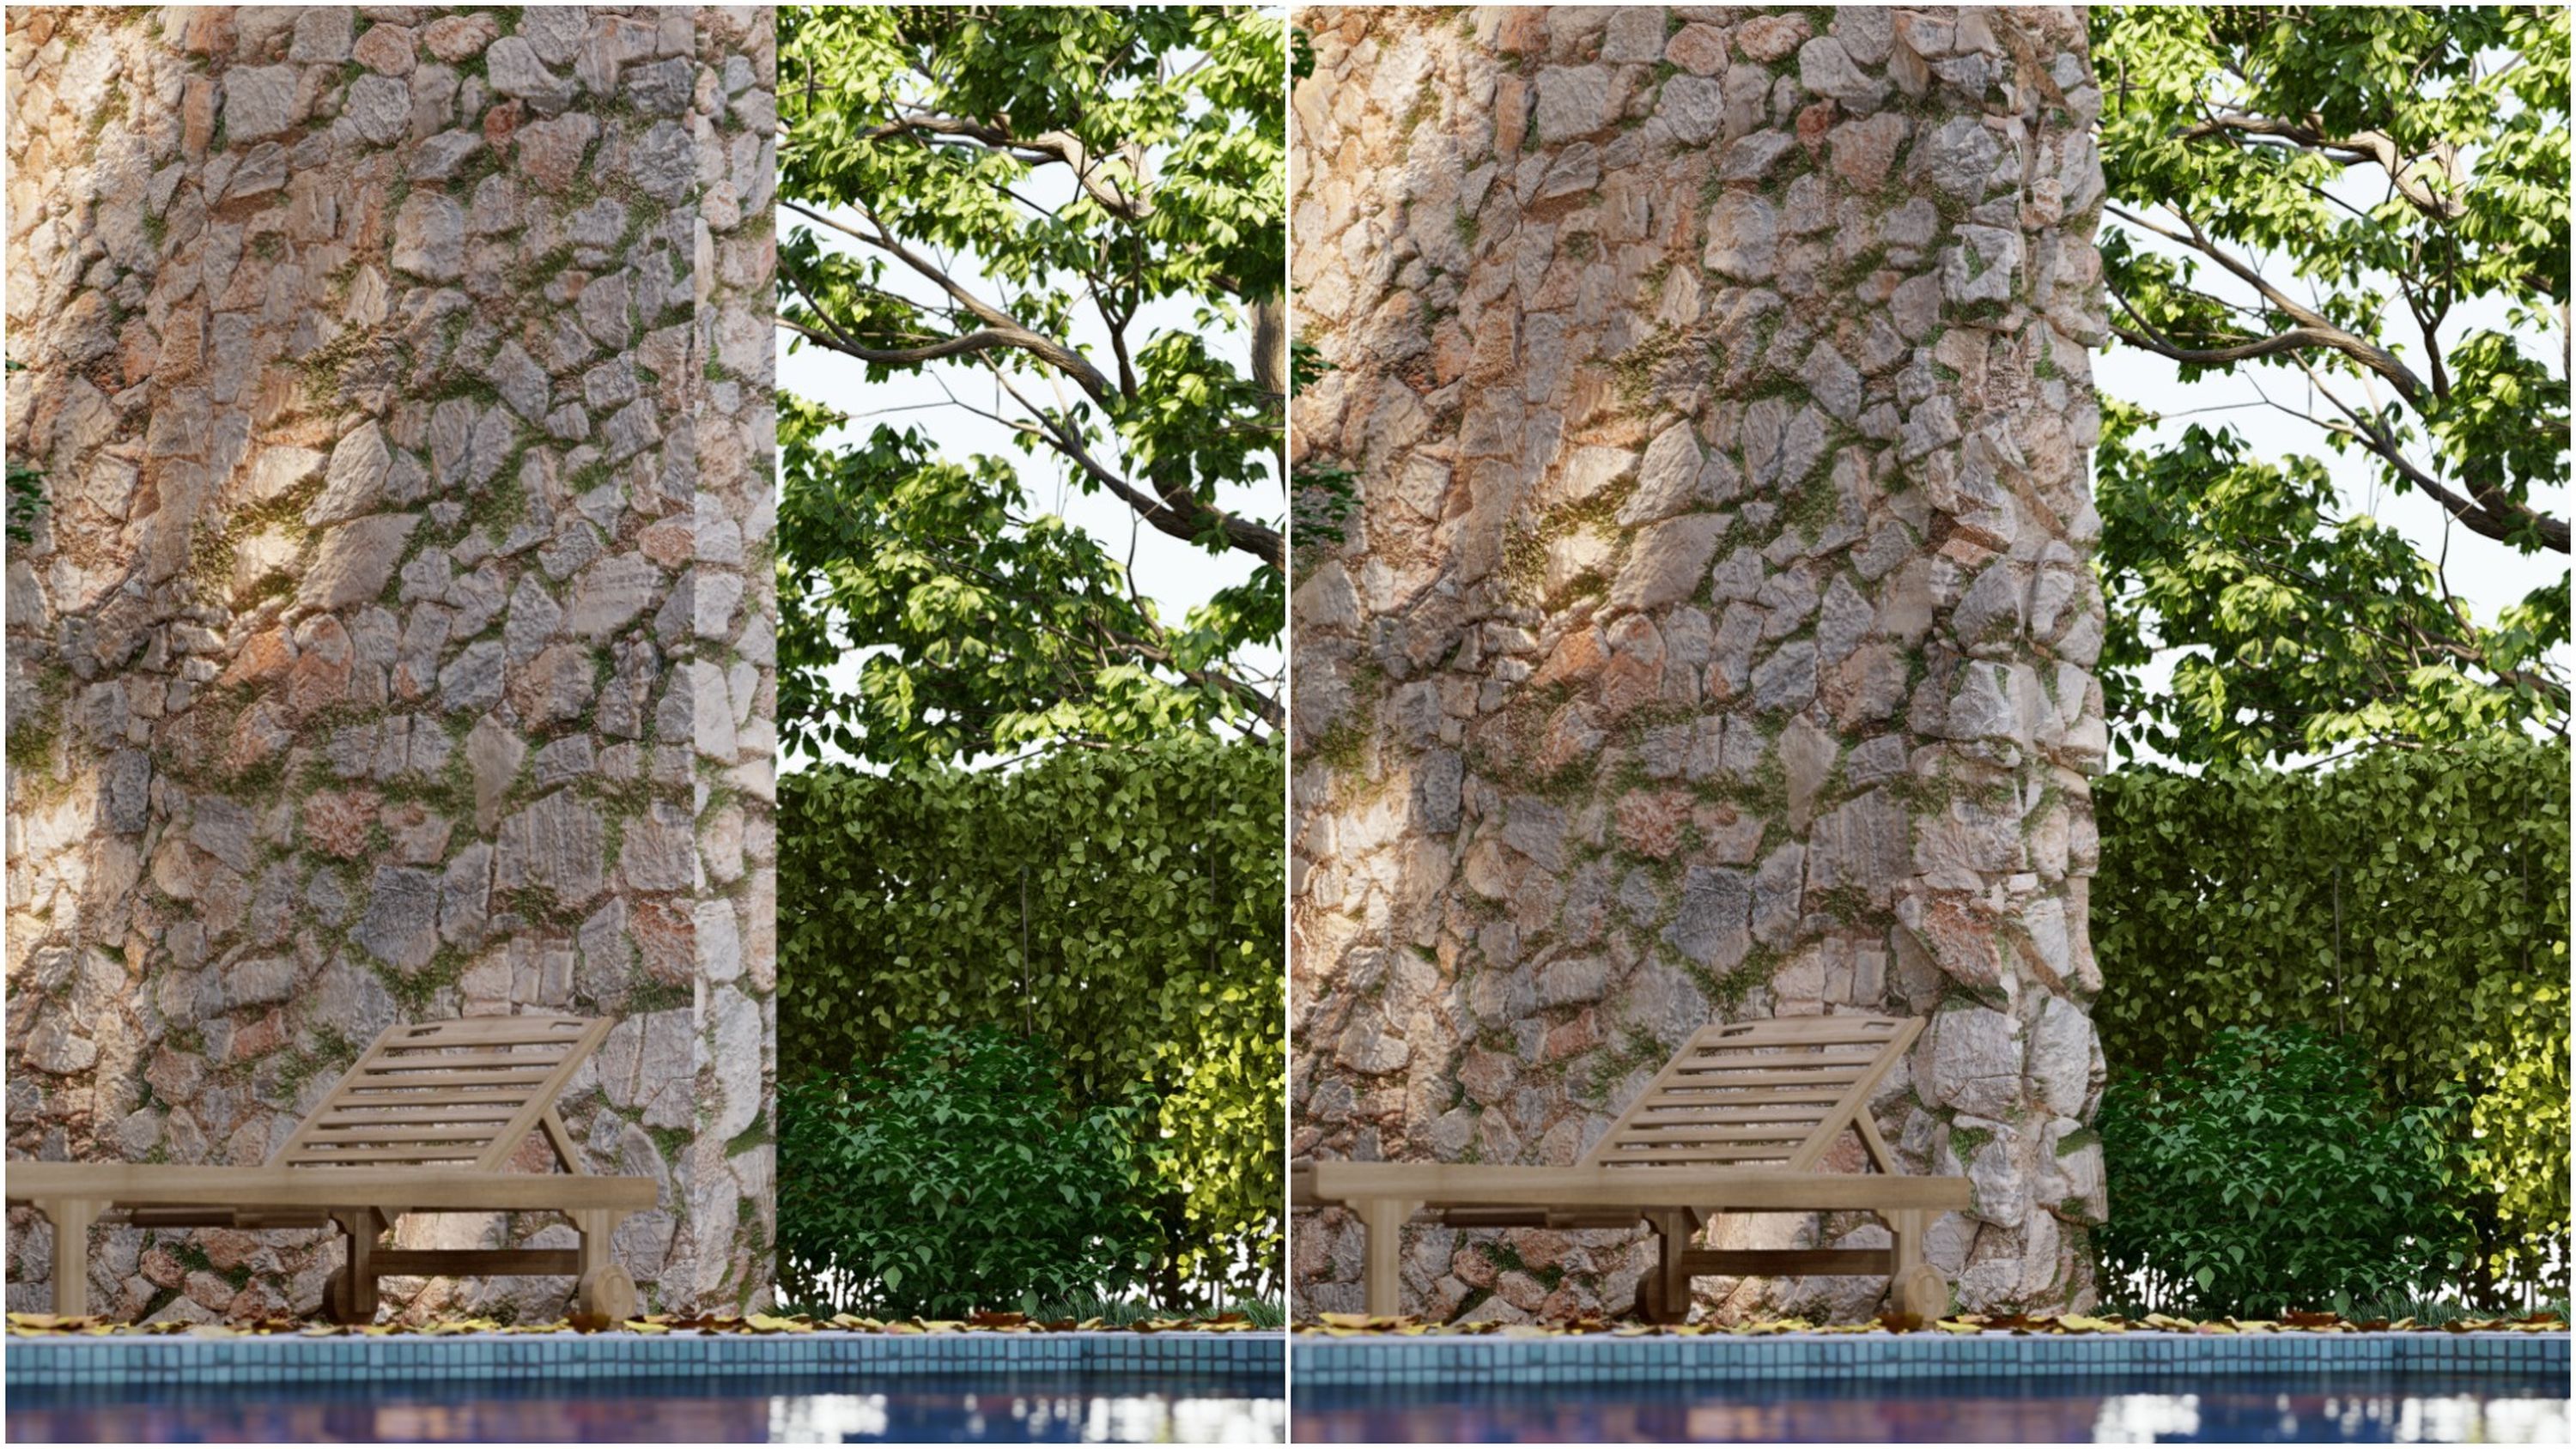
Comparison of a displacement map without a 3D modeled corner (left) vs. a displacement map with a 3D modeled corner (right).
How to improve realism
To instantly improve the realism of the materials that have displacement mapping, all you need to do is slightly modify your 3D model in your modeling software to reflect the lines, curves and other shapes of the displacement map’s texture.
For instance, let’s say you are applying a rock material to a wall and tweaked its displacement mapping. At the corner of the wall, the edge is sharp, and the look of the rocks is flat. To fix this, simply go to your modeling software, model the form and shape of the rocks and then place them on the wall. By updating your Lumion project with the modified model, you can see whether or not the pattern of the rocks matches the modeling work.
If you really want to ease this process, turn on Lumion LiveSync and create a real-time connection between Lumion and your modeling software. By turning on LiveSync, you can always see how your rock model is blending in with the displacement map in Lumion, letting you adjust the model until you get the result you want.
You can see this process and the final result in the video below.
Let’s take a look at another example using the sand material with displacement mapping. If you place a vertical wall against the sand material, you can see that the sand suddenly stops in a flat, straight line.
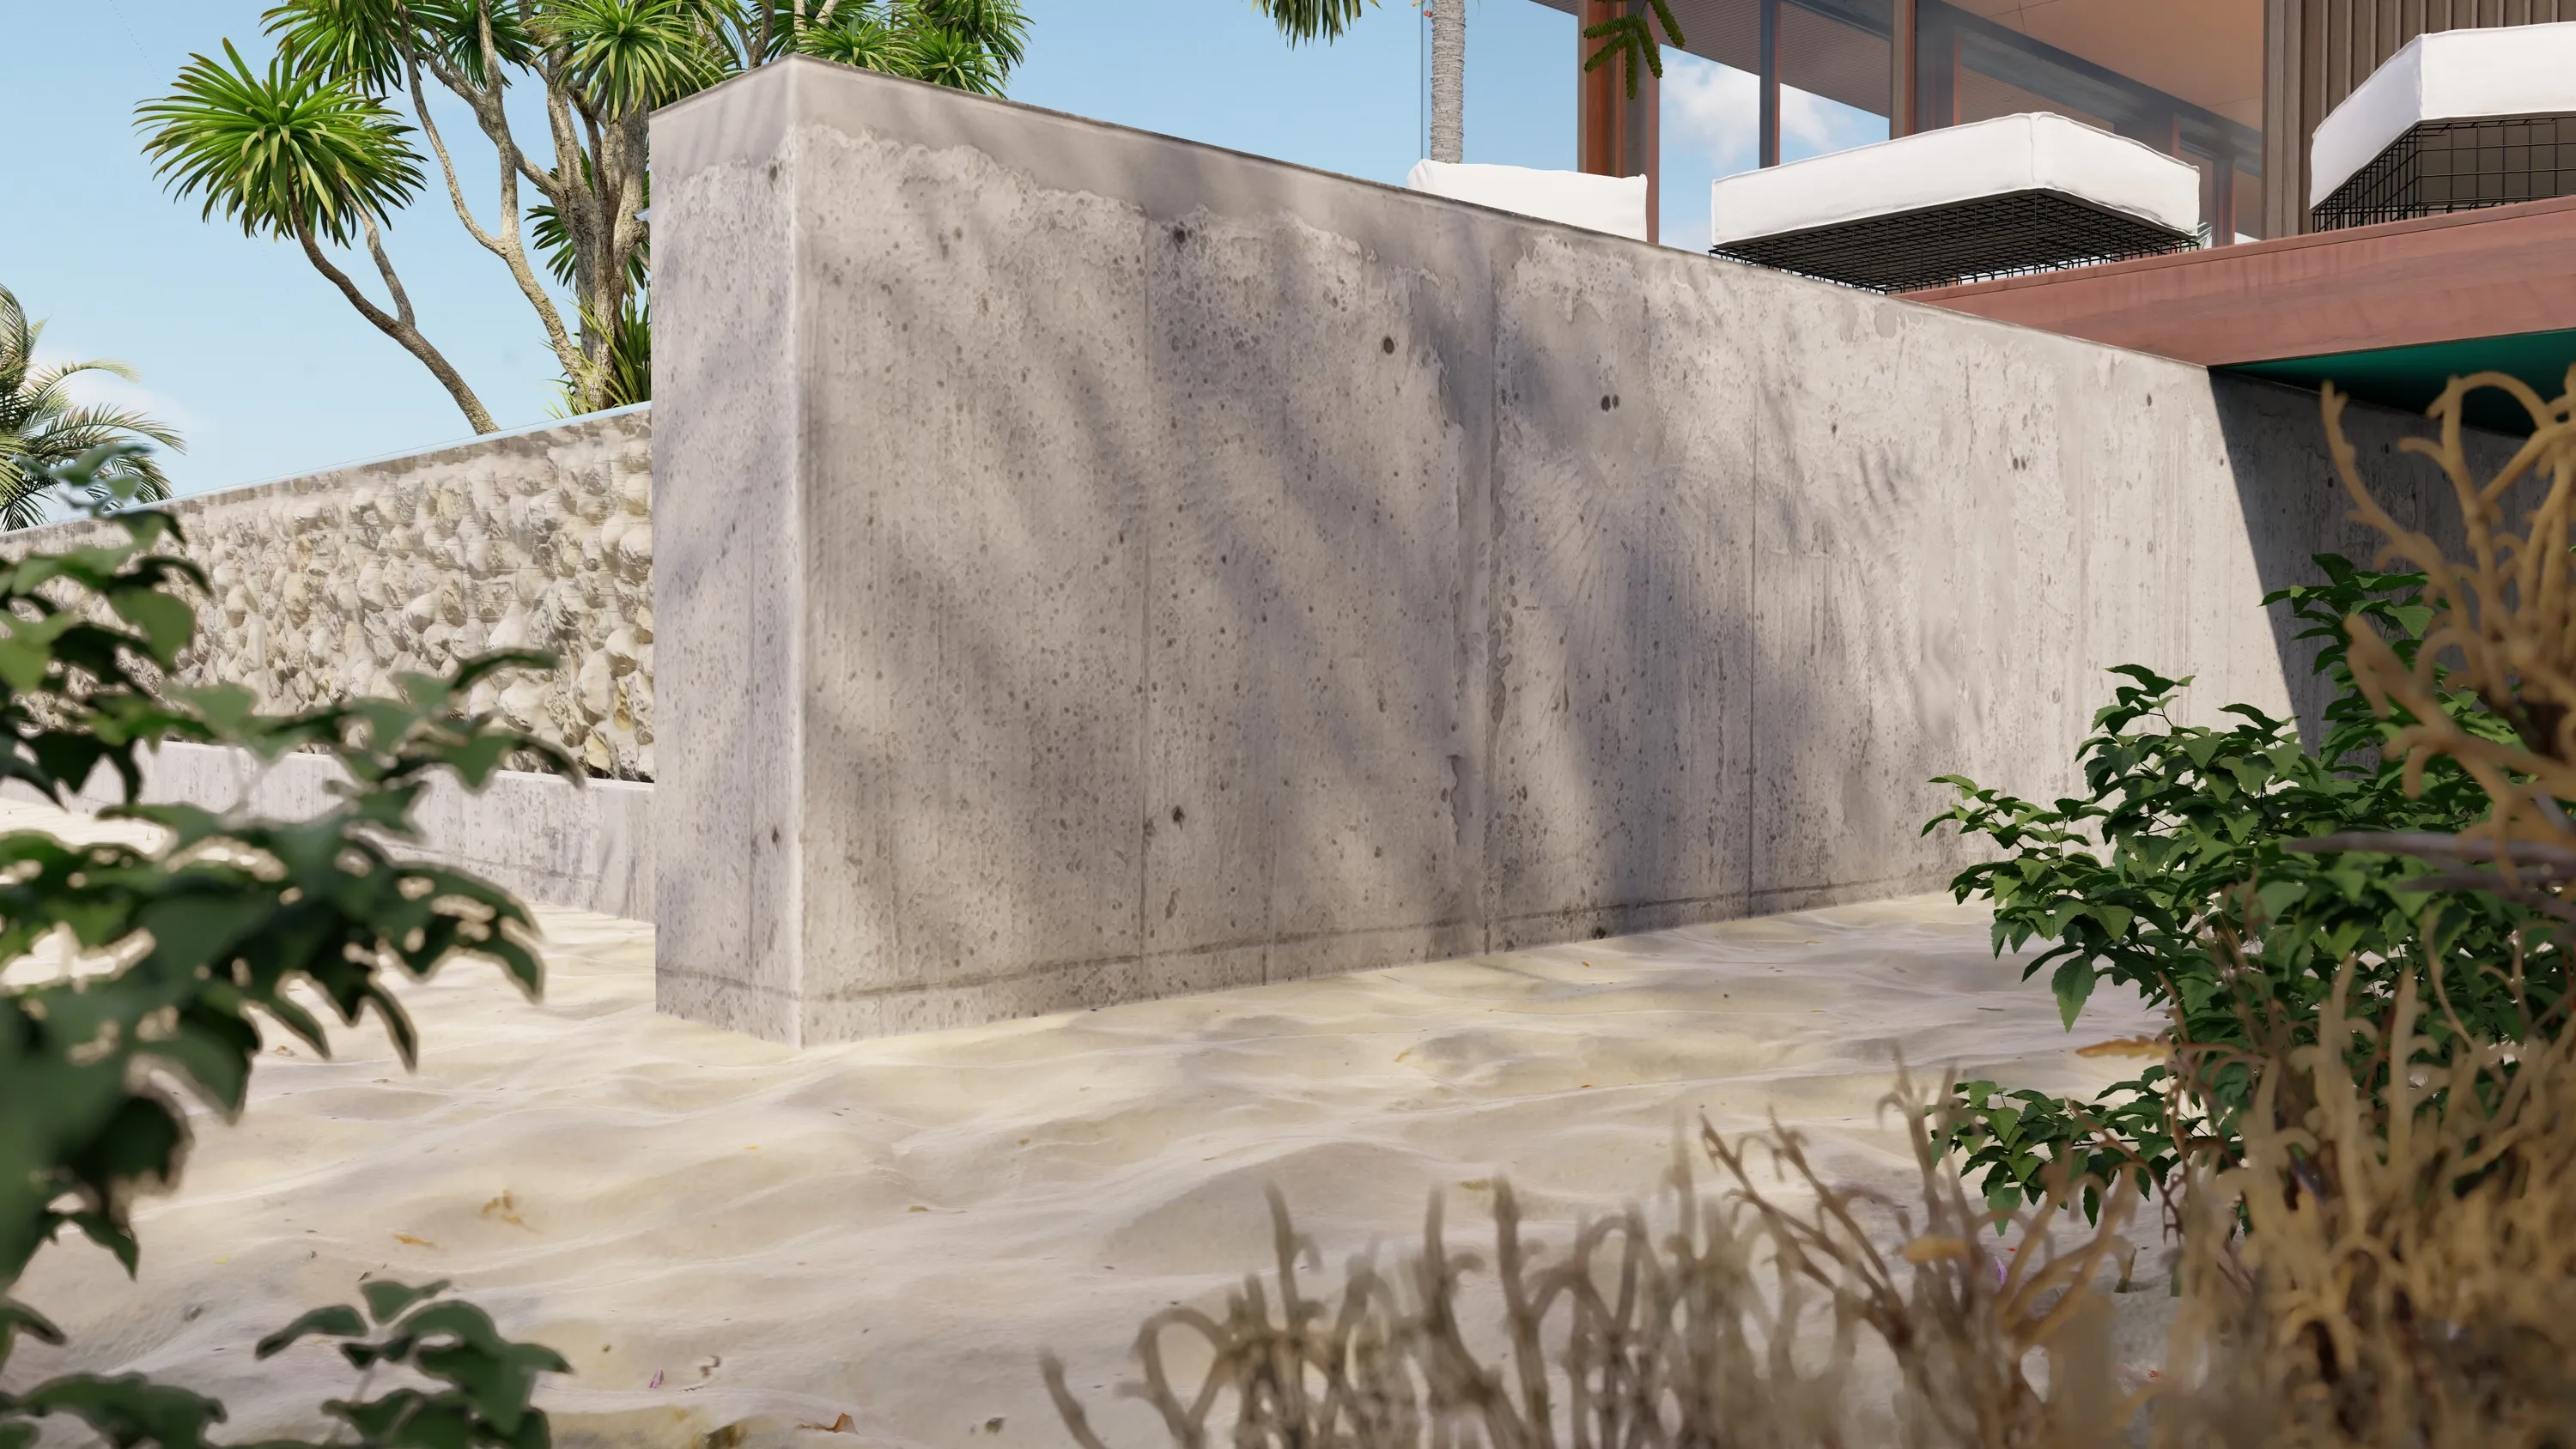
At this point, you can probably guess the solution. To blend the sand material with the wall, you will need to model some little mounds that mimic the shape and look of sand.
LiveSync and displacement
You can see this process done in SketchUp below, though the concept can be applied to any modeling software.
By modifying the model for the displacement map, we were able to produce this result.
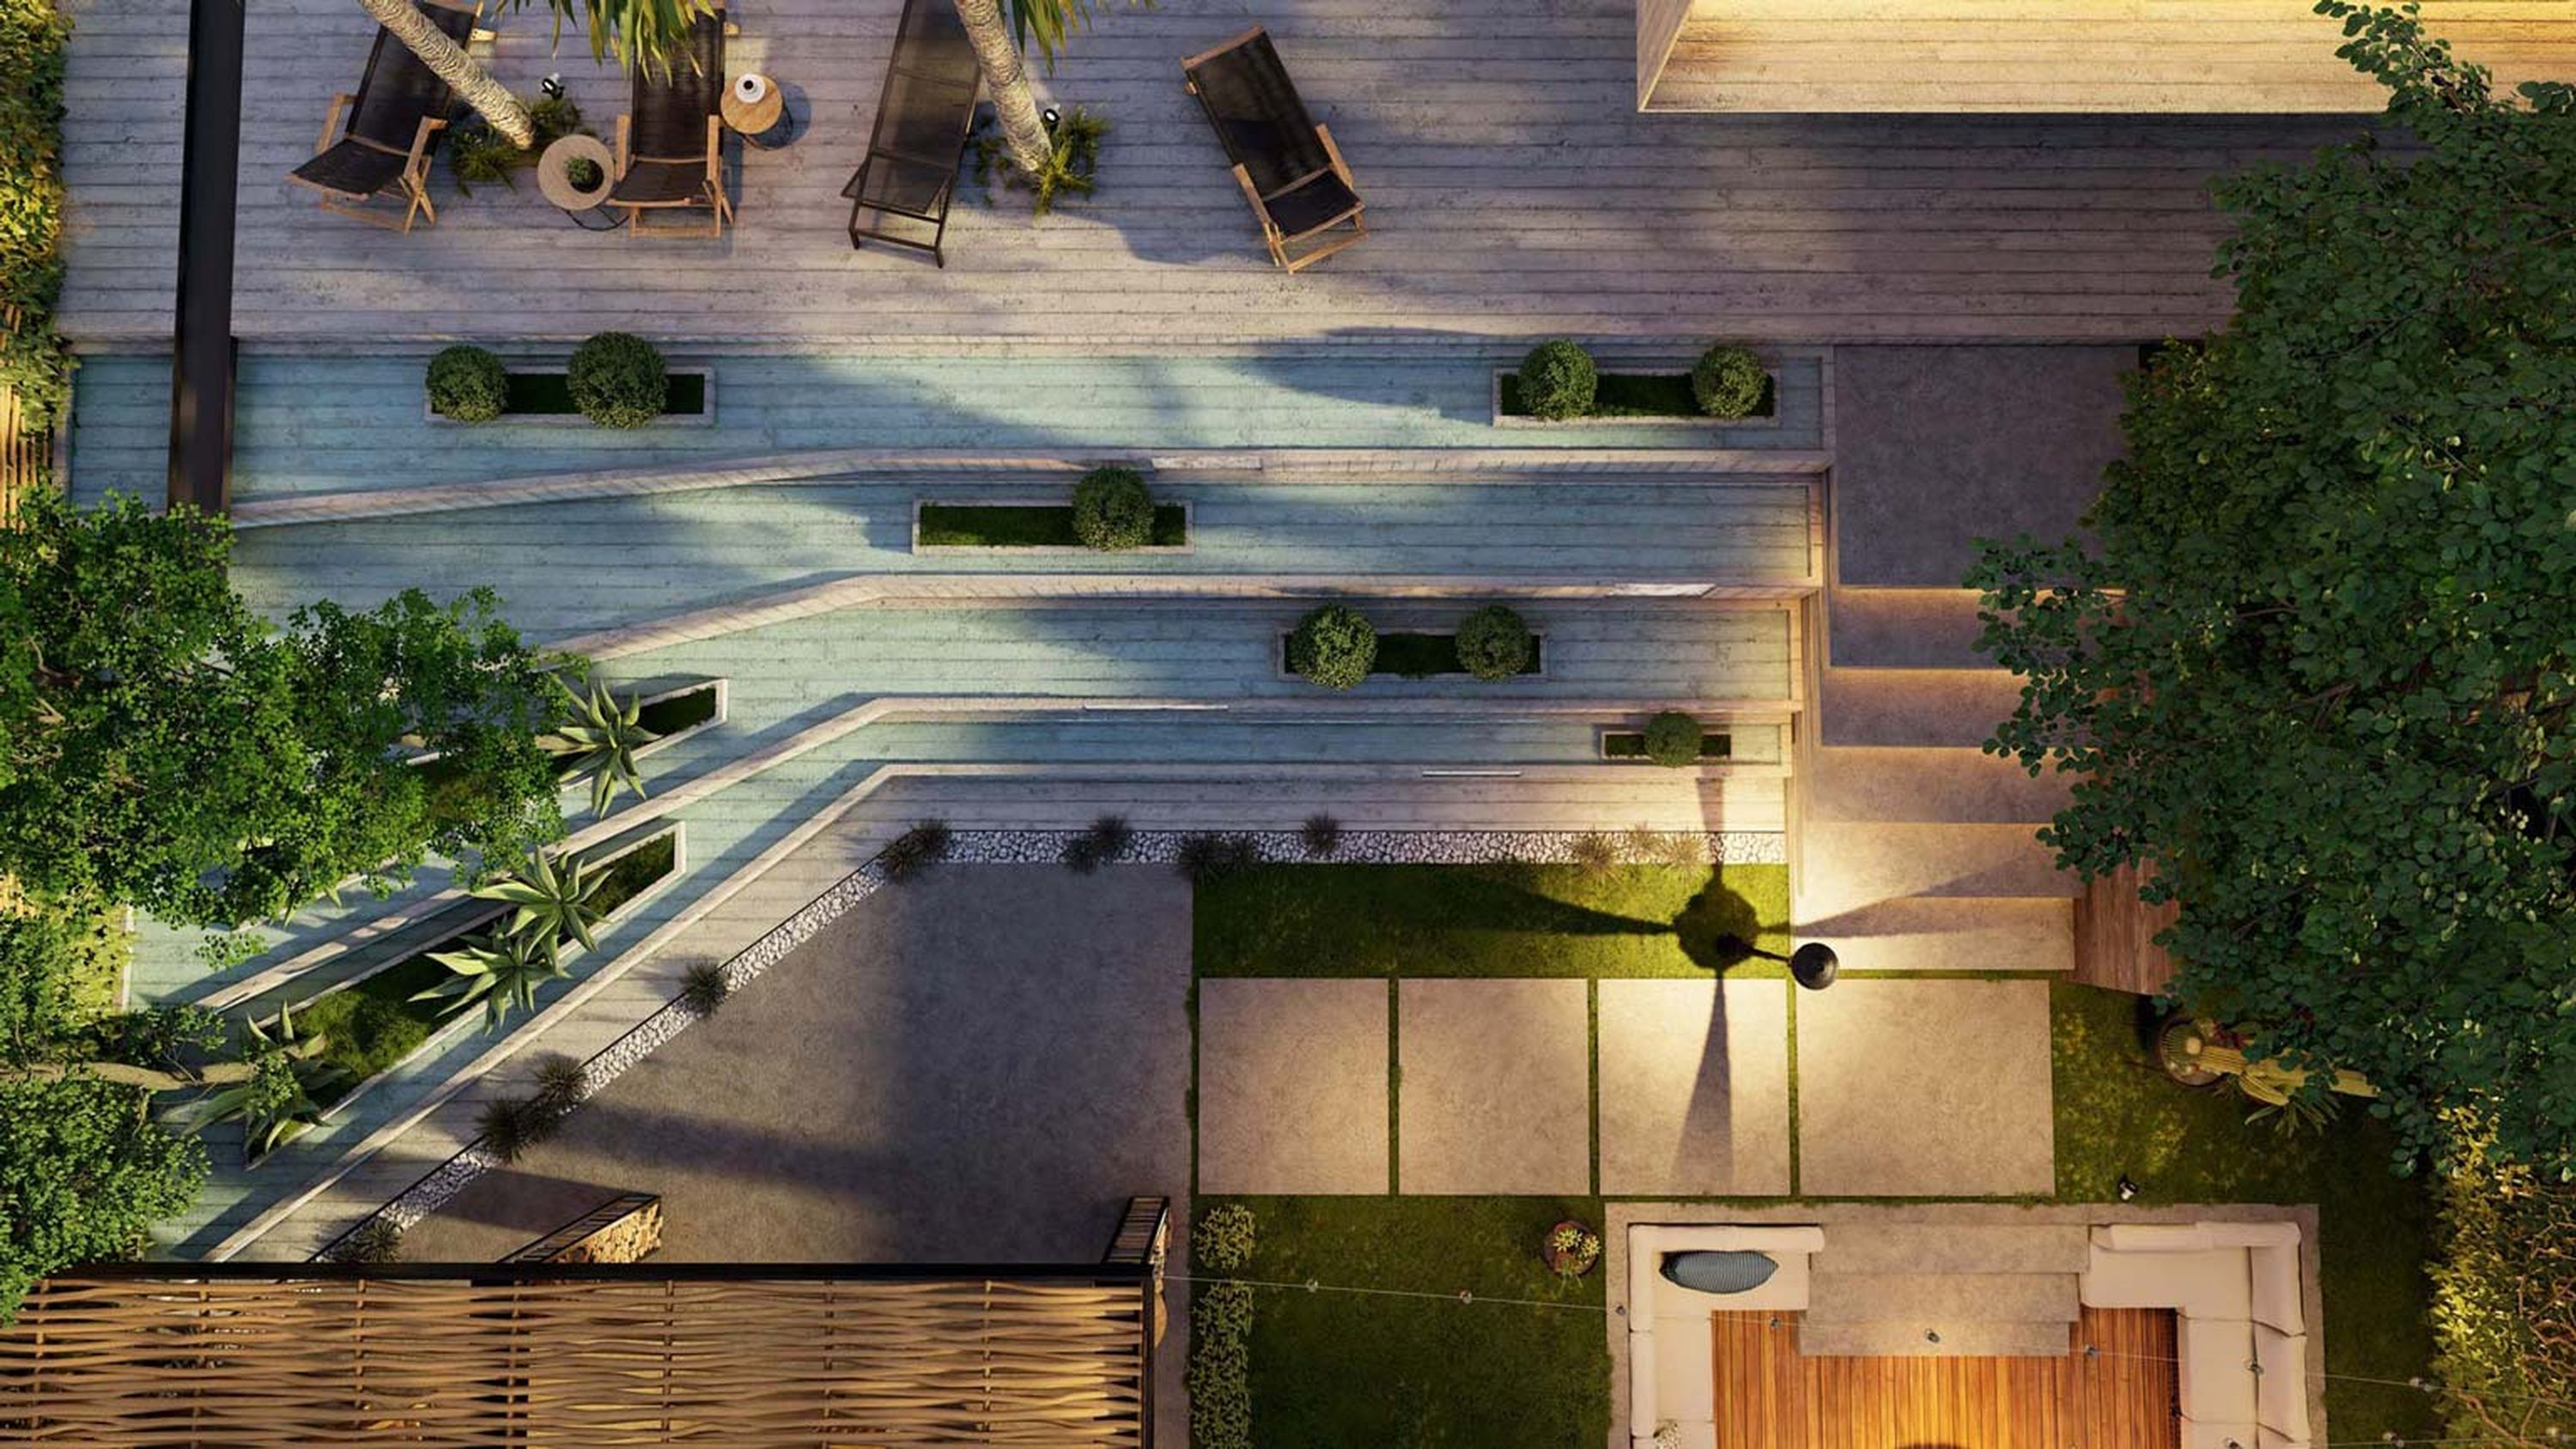
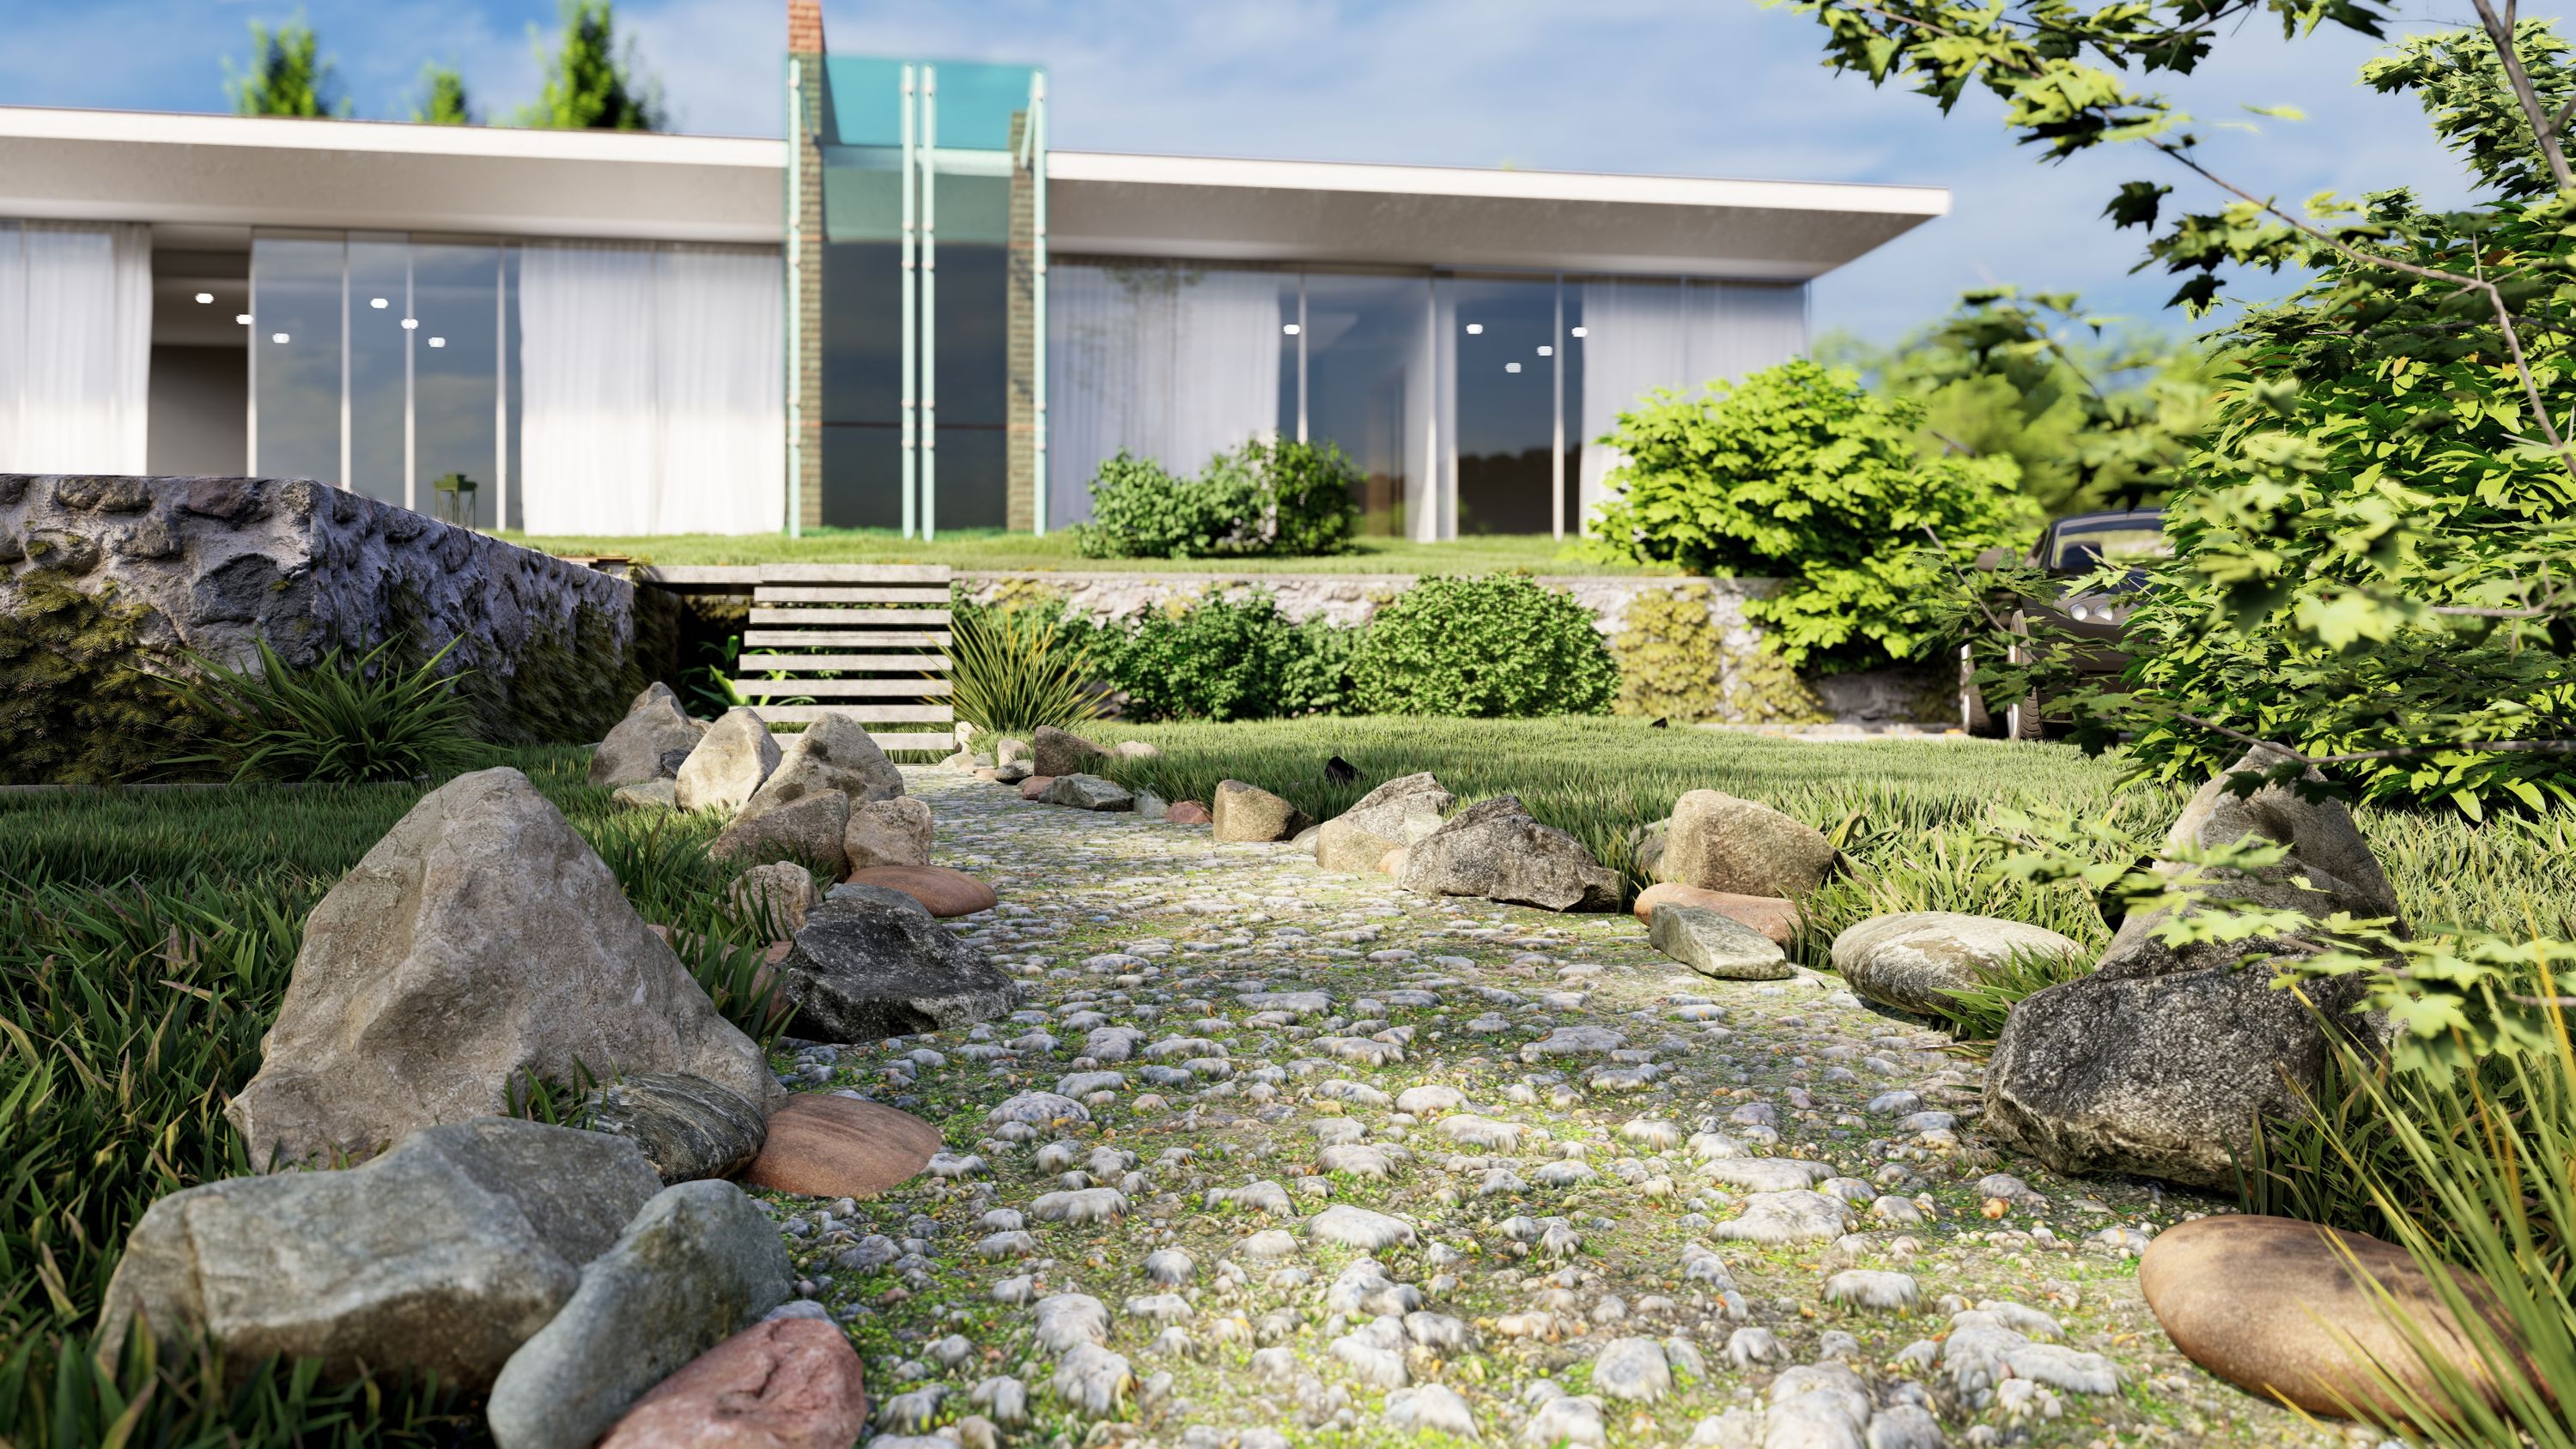
Lastly, you can easily blend your displacement material with 3D grasses and other materials simply by hiding the line separating the two materials. For instance, in the image below, you can see a path surrounded by 3D grass.
By adding rocks to hide the line between the path and the grass, you can easily integrate the materials in a highly realistic manner.
As a side note, you can also take advantage of the “Edges” slider in Lumion to round off the sharp, angular corners of your model.